This recipe for Dubai Chocolate Cake is an elegant, show-stopper, celebration cake. It’s not the type of cake you just whip up in an hour. There are steps and stages to this dessert, but if you’re the type of baker who enjoys the process of baking almost as much as savoring the dessert itself, than this recipe is for you.
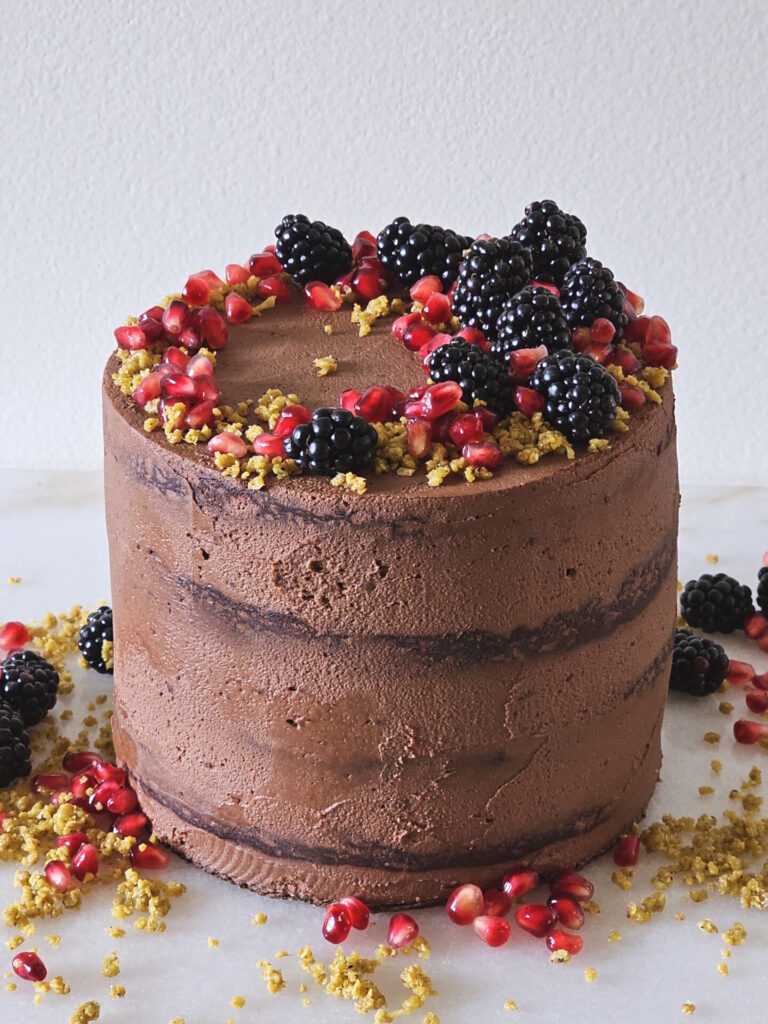
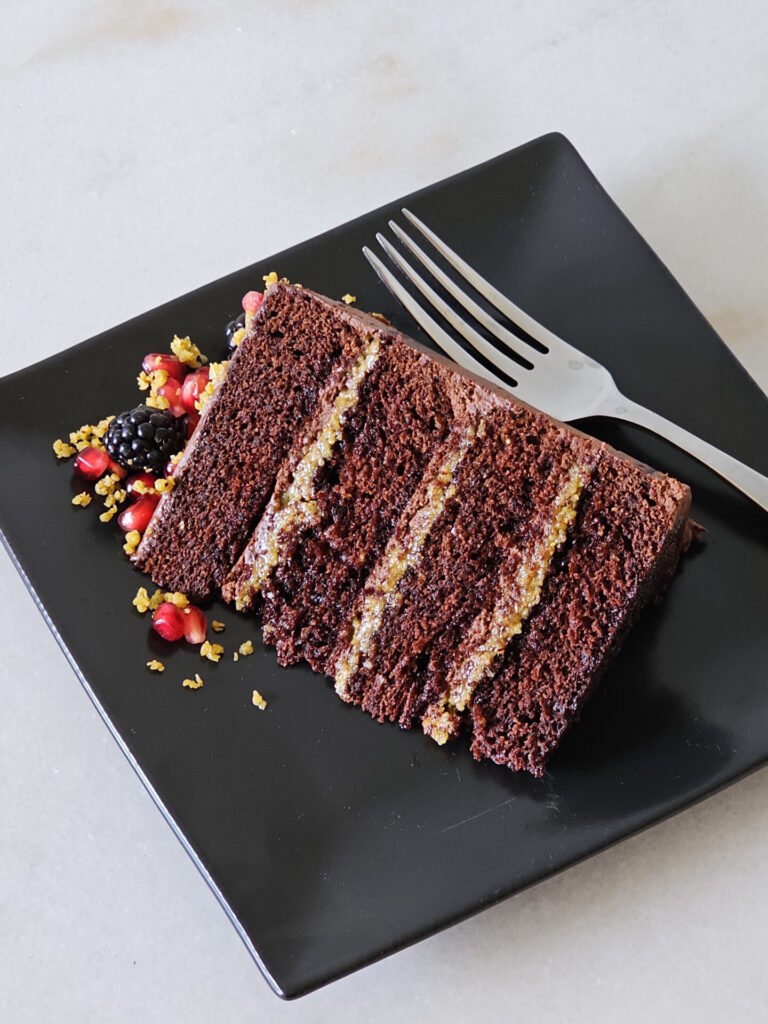
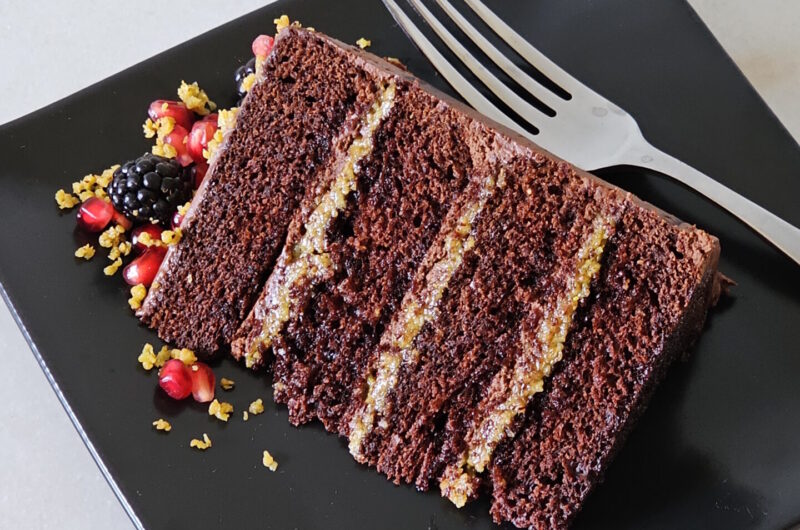
Rich chocolate cake layers are brushed with a chocolate simple syrup. Alternating layers of homemade Dubai Chocolate filling and whipped chocolate Ganache balance each other out. The cake is then finished in a thin layer of whipped Ganache and topped with fresh fruit.
If you make only one chocolate cake this year, let this be the one you serve.
Jump to RecipeTable of Contents
Deconstructing Dubai Chocolate Filling
Like so many other people, I’ve fallen in love with Dubai Chocolate. Shredded, toasted Phyllo dough, pistachio butter, a touch of Tahini, and honey – that crispy, sweet, salty, nutty filling is absolutely divine when coated in chocolate. It also can cost a small fortune, so naturally, I set out to deconstruct the filling so I could make it at home. However, what started as a simple quest to develop a filling recipe, snowballed into an entire cake recipe. It’s what I do.
The Individual Components of This Dubai Chocolate Cake Recipe
One of the things I love about this recipe is that all the different parts are delicious in their own right and can stand alone.
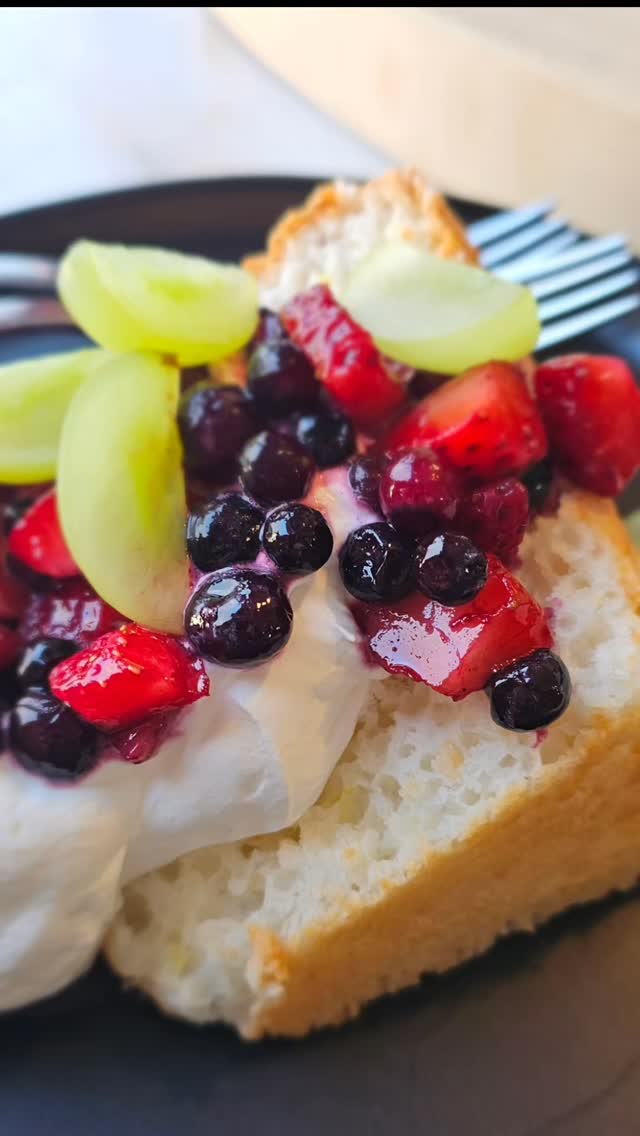
The chocolate cake layers are sturdy enough to be used as a tiered celebration cake, but they also have a tender, delicate crumb. The chocolate simple syrup is used in this recipe to add moisture to the cake, but it’s also a lovely ingredient for mixing cocktails and mocktails. The filling can be rolled into balls or shaped into molds and coated in chocolate for a delightful candy treat in keeping with tradition. And finally, the whipped chocolate Ganache has a texture similar to chocolate mousse, is easier to make than buttercream, and can be used to top cakes and cupcakes. It’s also absolutely divine for dipping strawberries in.
Each of these components are delicious on their own, but when brought together, they create an extraordinary symphony of flavors and textures. So really, you’re getting four distinct recipes in this one post.
The Chocolate Cake
This chocolate cake is a great standard chocolate cake layer. In this recipe, I’ve added one Tablespoon of cold coffee to lift the chocolate flavor. Additionally, buttermilk interacts with the baking soda to give this cake a nice lift and a tender crumb.
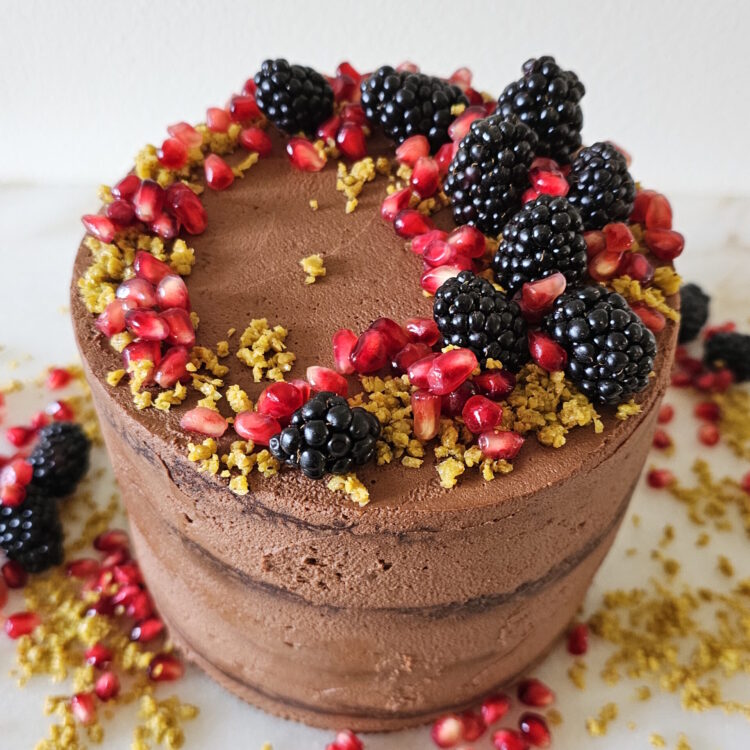
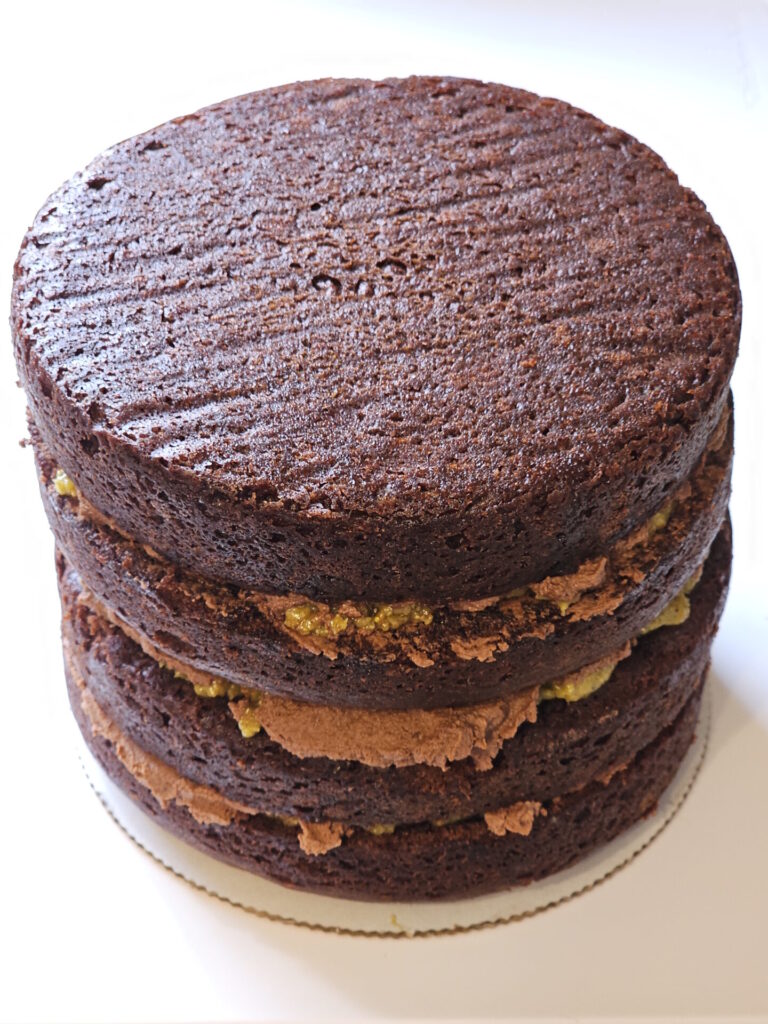
This cake recipe will yield either two 6-inch cake layers that can be sliced in half to produce four layers for a taller, more dramatic cake as pictured in this post. Alternatively, it can be baked as two 8-inch layers. With only two layers, the 8-inch cake will not be as tall, but I personally like the 8-inch option for everyday serving. Either option will work nicely. Because this cake is so rich, a small slice is all you need.
The Chocolate Simple Syrup
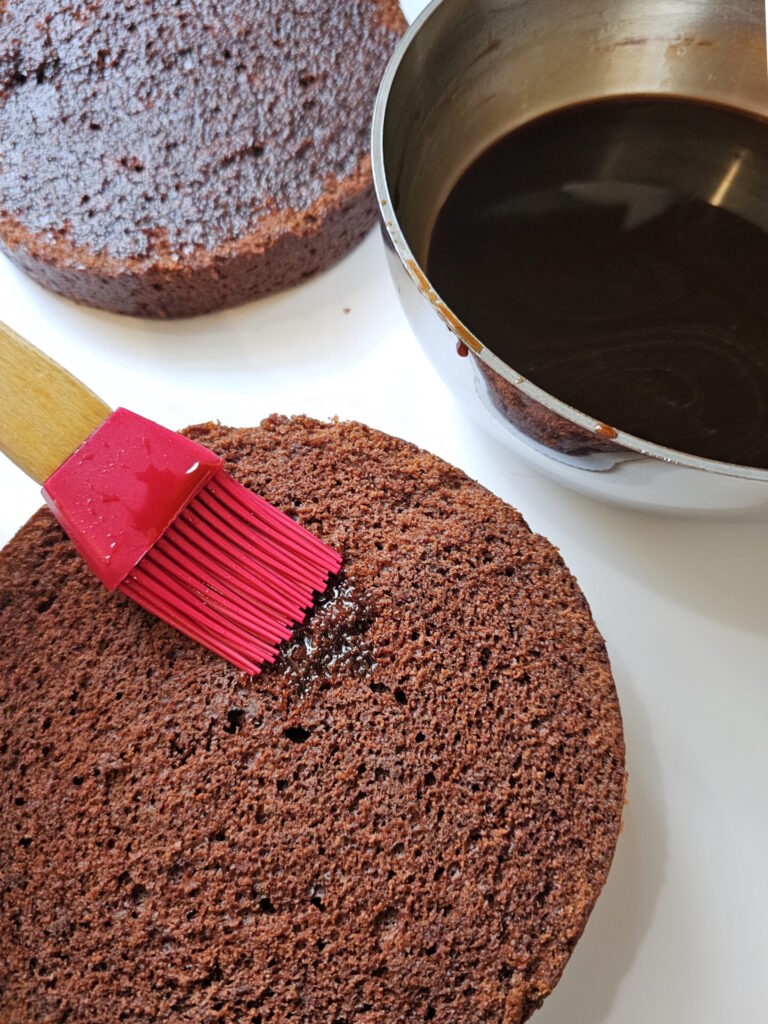
The second component of this cake recipe is a chocolate simple syrup consisting of 1/2 cup sugar, 1/2 cup water and 1/2 Tablespoon of unsweetened, Dutch Processed cocoa powder. The sugar, water, and cocoa powder are brought to a boil. Once the sugar crystals have dissolved, the syrup is removed from the heat and allowed to cool to room temperature before it is ready to be used. The syrup is then brushed on the top, bottom, and sides of the cake layers for added moisture. This step can be prepared a week in advance.
The Dubai Chocolate Filling
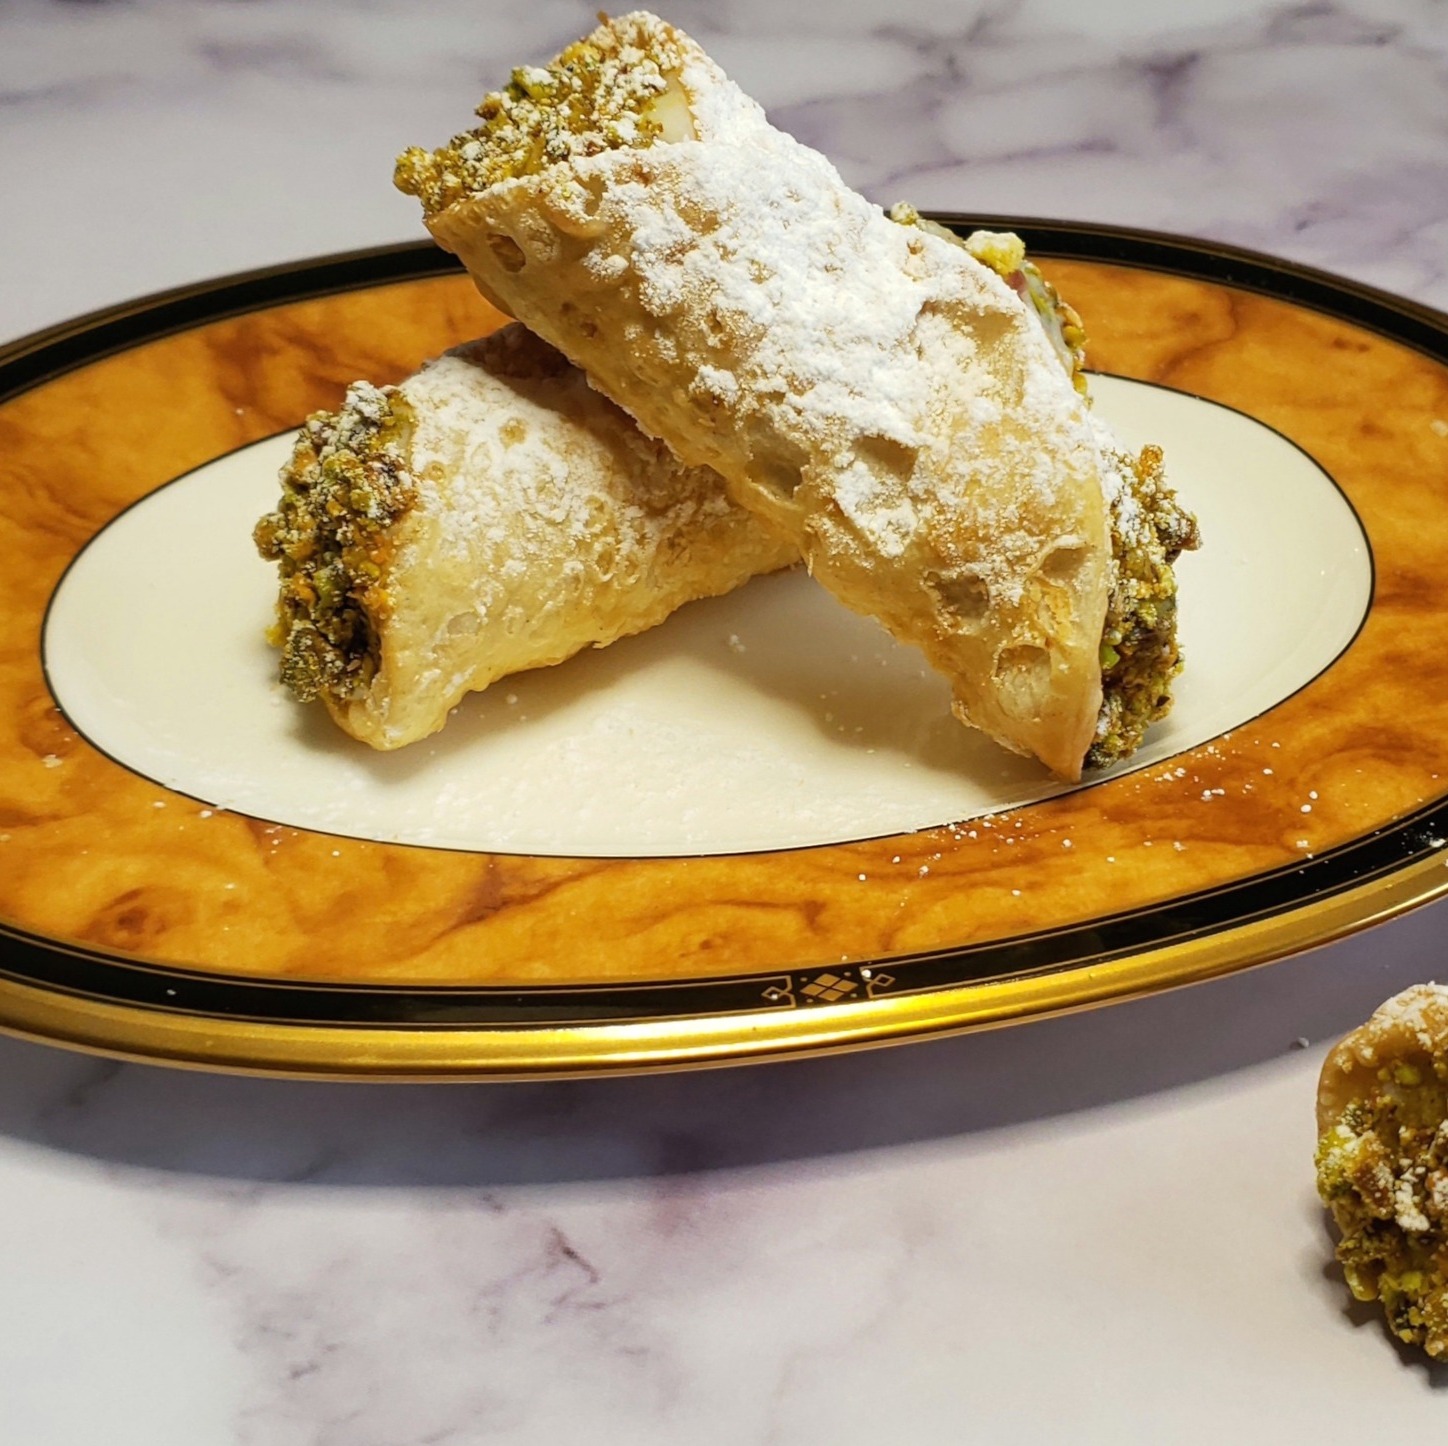
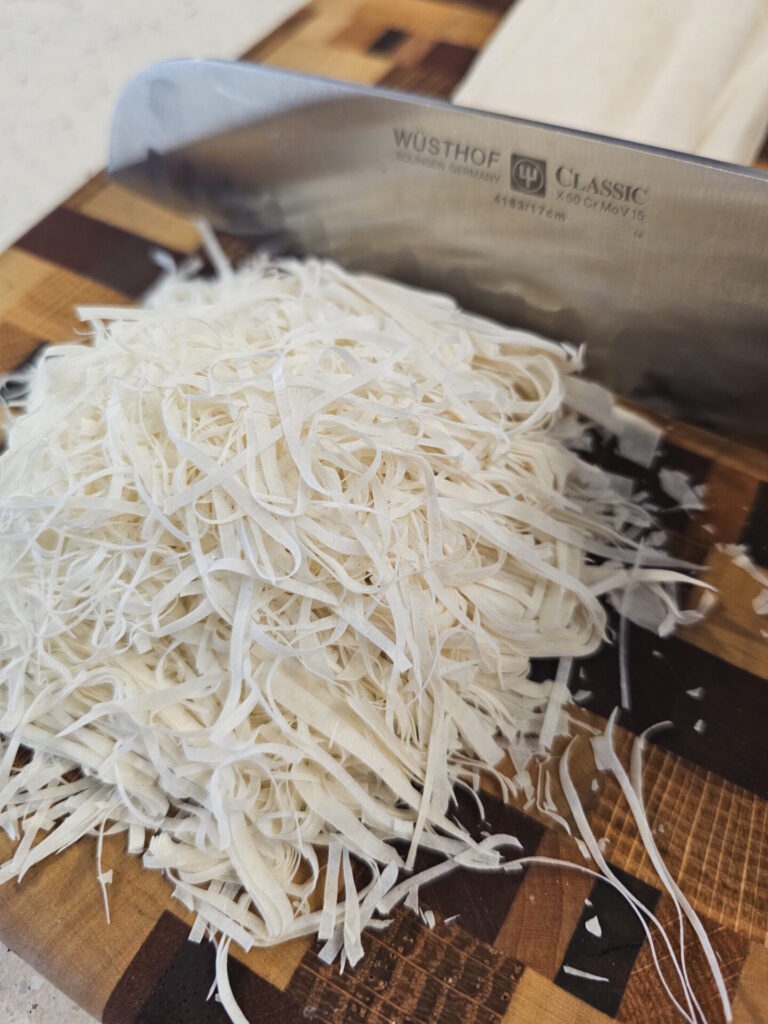
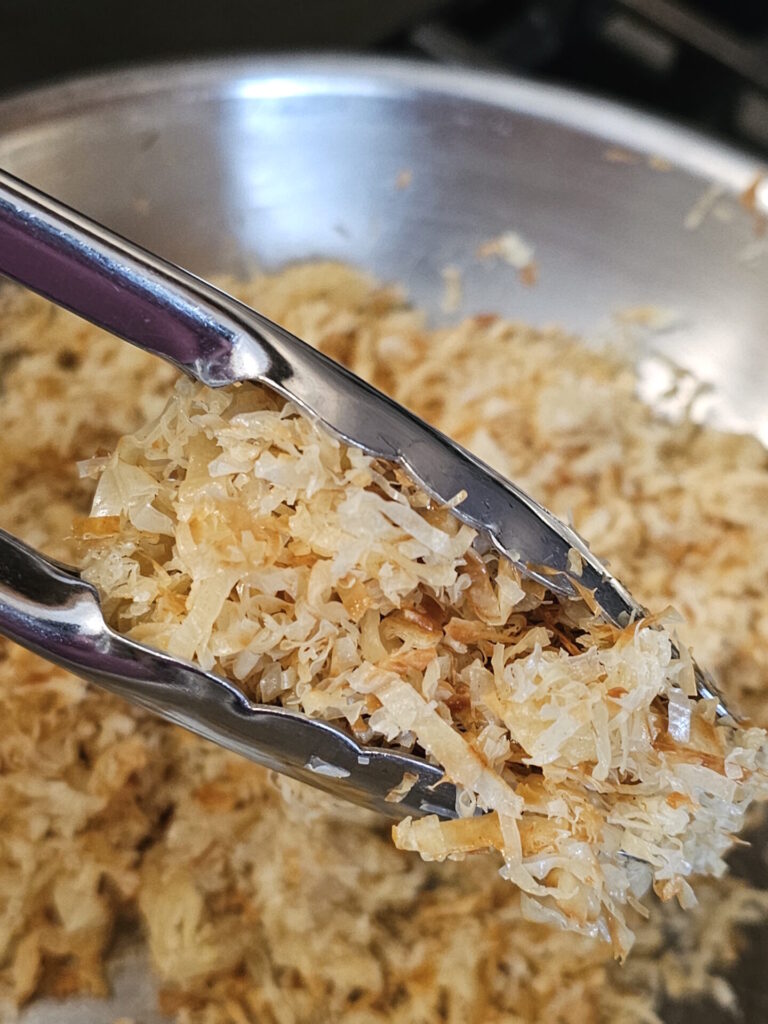
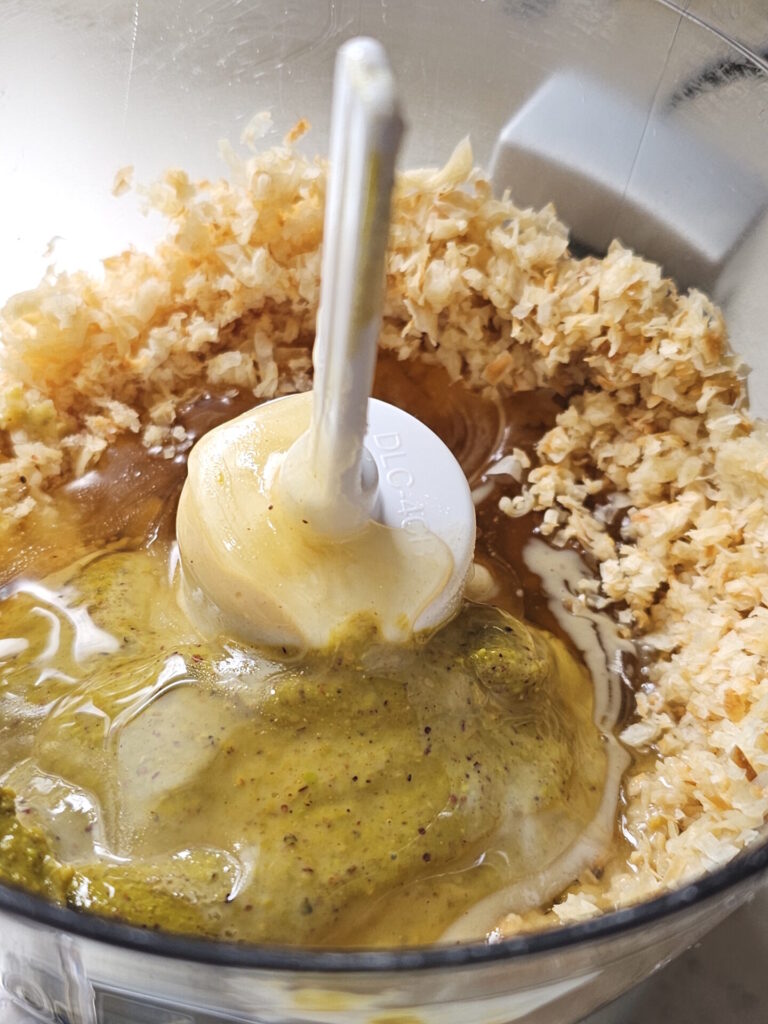
Dubai chocolate filling, aka Kataifi, is shredded phyllo dough that has been toasted in melted butter until it is golden brown and crispy. Once cooled, it is blended with pistachio cream (or pistachio butter as in this recipe), Tahini, and sometimes a little honey. The combination results in a crunchy, creamy, nutty, and slightly sweet filling that reminds me a lot of pistachio baklava.
This delightful filling is then traditionally coated in milk chocolate, and that is the whole of this viral, chocolate treat. So, if you’re looking for a Dubai chocolate recipe that you can make at home, you can save the filling portion of this recipe for future use. Simply shape it how you like (I like scooping and rolling it into little balls), coat it in milk, dark, or white chocolate, and enjoy Dubai Chocolate bars at home any time you get a craving – and at a fraction of the cost. My gift to you, my foodie friend!
Whipped Chocolate Ganache
I initially set out to finish this cake in a chocolate buttercream, but quickly shifted to the airy, mousse-like quality of whipped chocolate Ganache. Because there is little added sugar in the chocolate (I used a 60% bittersweet chocolate), it also helps to keep the sweetness of this cake under control. Two cups of heavy cream are heated until it just starts to boil. The cream is then removed from the heat and poured over the chopped chocolate and gently whisked until the chocolate in completely melted and incorporated. If desired, you can add a Tablespoon or two of a pistachio flavored liqueur, but it’s also not necessary.
Cover the top of the Ganache directly with plastic food wrap before placing it in the refrigerator to cool. This will prevent a skin form forming on the surface of the Ganache. The mixture needs to chill for a minimum of 4 hours or overnight. Once completely cooled – and right before you are ready to finish the cake – the Ganache is whipped on medium-high speed for approximately 1-2 minutes. It will look a little soupy, but it will whip up. Be sure not to over whip the Ganache though, or it will become grainy. If this happens, don’t despair. It’s a very forgiving Ganache. You can simply re-melt it, re-chill it, and re-whip it again. It’s a beautiful thing.
Dubai Chocolate Cake – The Sum of Its Parts
As I mentioned at the beginning of this post, this is a show-stopper cake. It feels special, because it is a special occasion cake. There are a lot of components, but each one goes fairly quickly and can be done in advance so that it doesn’t feel like such a heavy lift.
Because this cake is so fancy on the inside, I chose to go with a very understated decor. The sides of the cake are naked, but smooth, and the top is simply dressed with fresh berries and pomegranate arils and a sprinkle of extra filling. However, any bright, slightly tart and juicy fruits will work. There is enough Ganache in this recipe for some simple pipe work on the top and bottom of the cake if you decide to go that route.
Rounding Out a Themed Menu
So, what does one serve with such a decadent cake?
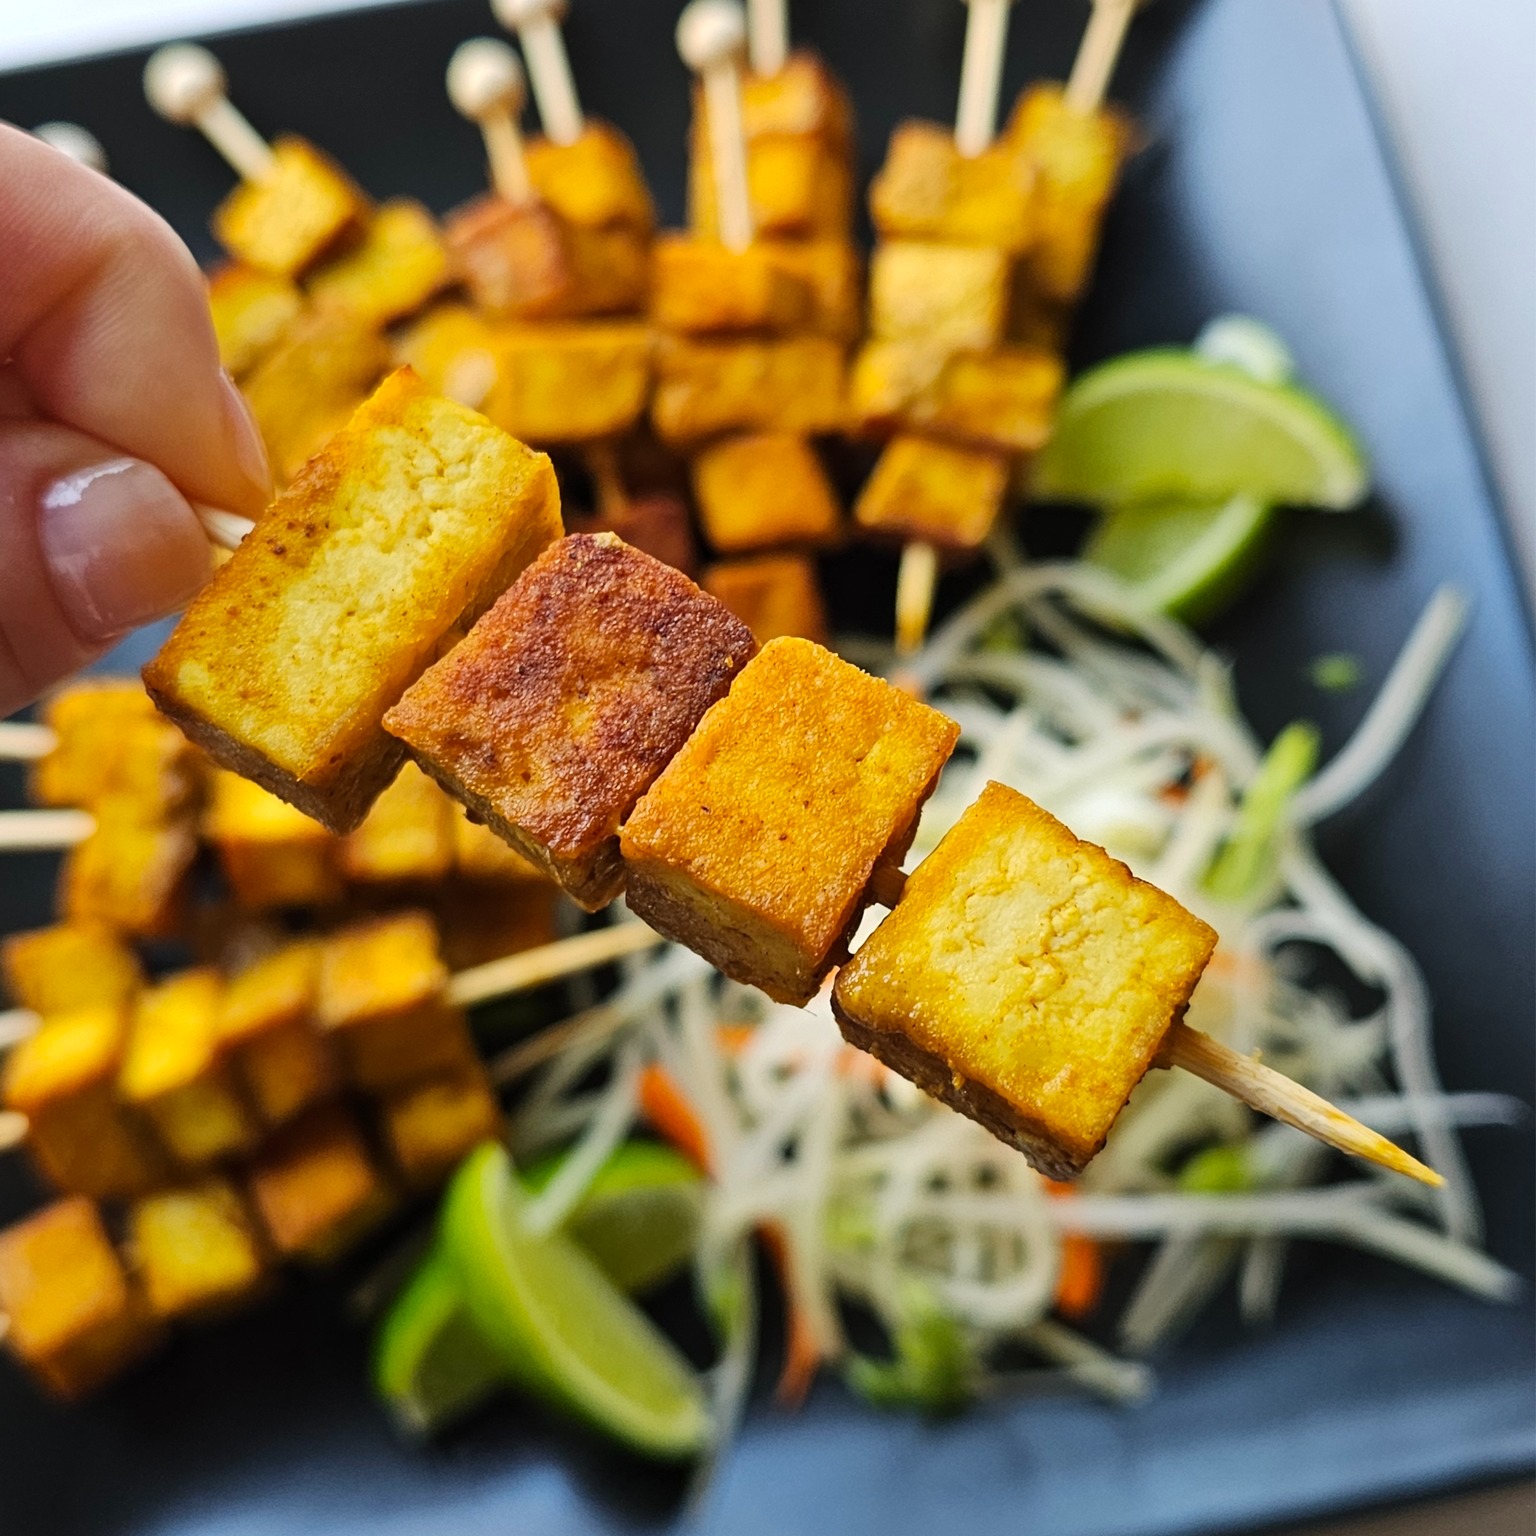
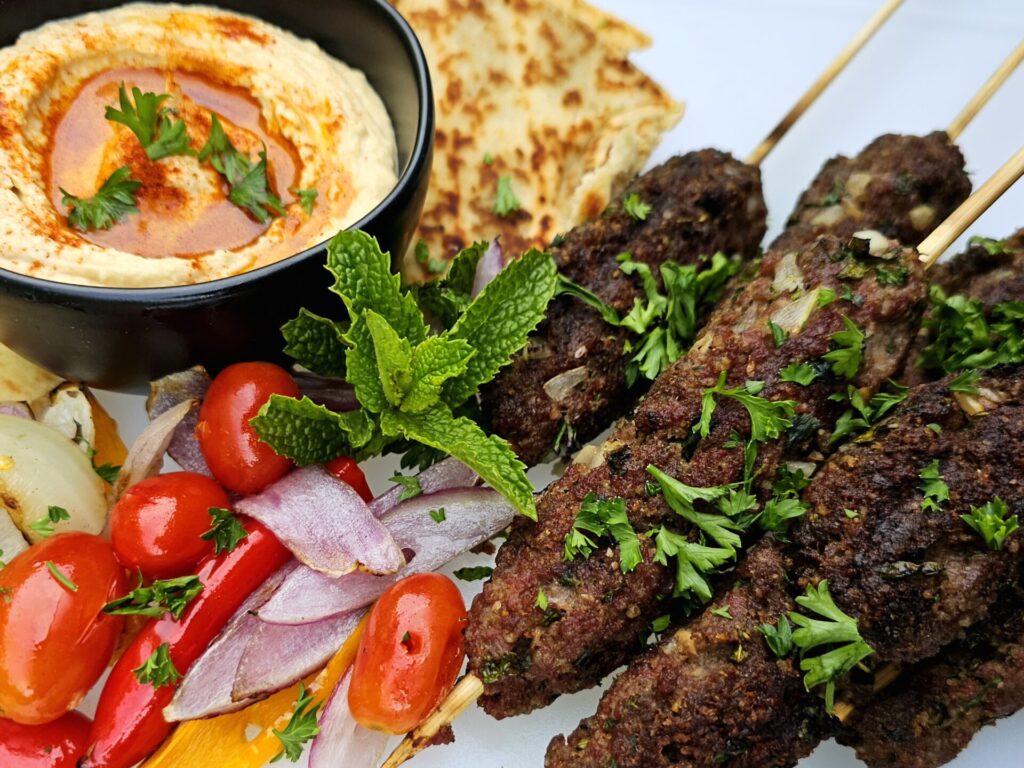
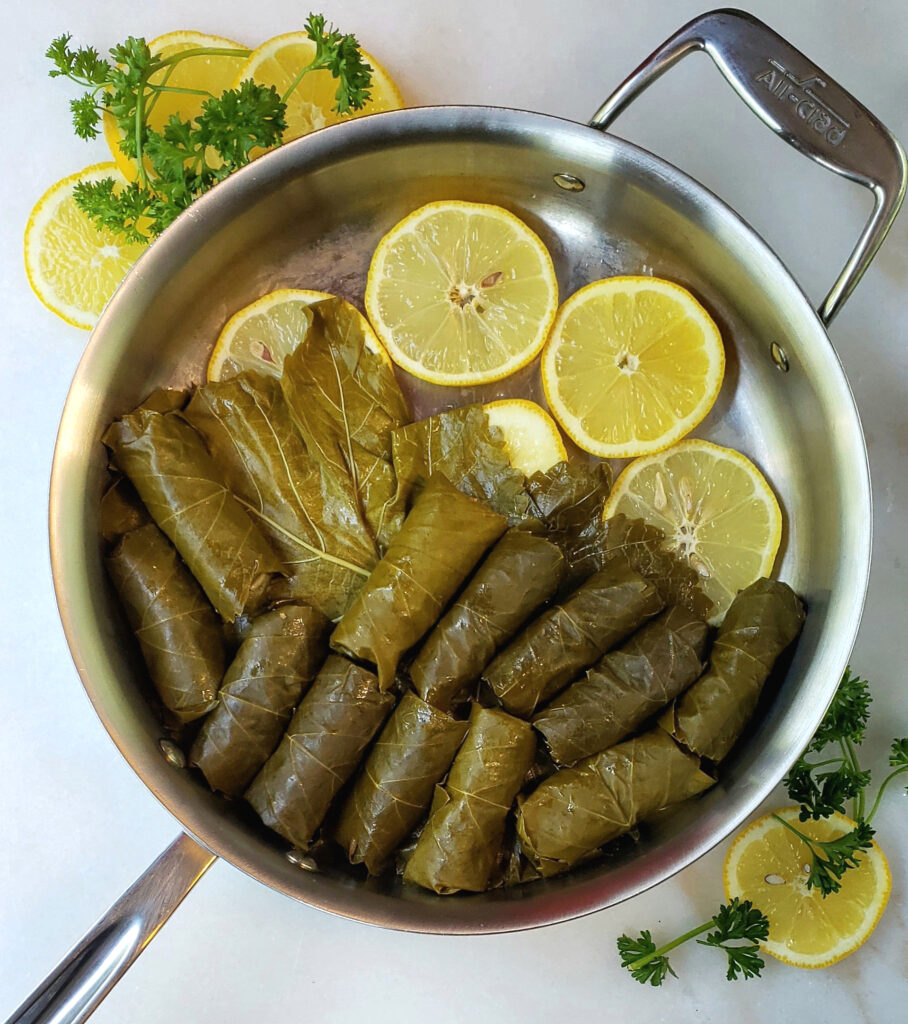
Typically, I like to plan menus around a theme. For this dessert – and since the cake itself is so rich – I would pair it with a light and healthy dinner that includes this recipe for Lebanese Kafta or these lovely Dolmas as an appetizer.
Let’s Get Social!
Thank you for visiting the MOstly Bakes website! Although it’s a little work, I do hope you give this Dubai Chocolate Cake recipe a try. It’s truly worth the effort. I’d also like to invite you to subscribe to our newsletter and follow along on social media via Instagram, Facebook and Pinterest. Thank you again, for visiting, and I hope to connect with you there!
Dubai Chocolate Cake
Course: DessertCuisine: AmericanDifficulty: Intermediate10
servings1
hour1
hour10
minutes6
hours20
minutesChocolate cake layers brushed in a chocolate simple syrup,with a homemade pistachio filling and whipped chocolate Ganache.
Ingredients
- For the chocolate cake
1 and 2/3 cups whisked cake flour
1/3 cup Dutch-processed cocoa
3/4 tsp. baking soda
3/4 tsp. baking powder
1/4 tsp. salt
6 ounces (1 1/2 sticks) unsalted butter, room temperature
1/2 cup white granulated sugar
1/2 cup firmly packed light brown sugar
2 large eggs, room temperature
1 tsp. vanilla
1 Tbsp. cold, liquid coffee
1 cup buttermilk
- For the chocolate simple syrup
1/2 cup white granulated sugar
1/2 cup water
1/2 Tbsp. unsweetened, Dutch Processed cocoa powder
- For the Dubai chocolate filling
4-ounces of Phyllo dough, shredded (sliced 1 cm)
2 Tbsp. salted butter
4 Tbsp. Pistachio butter
3 Tbsp. mild-flavored honey
2 Tbsp. Tahini
1/8 tsp. salt
- For the whipped Ganache
2 cups heavy whipping cream
8 ounces semi-sweet, 60% dark chocolate, chopped
Directions
- Prepare the cake layers
- Preheat the oven to 350 degrees F. Prepare two 6×2-inch cake pans or two 8×2-inch cake pans by spraying them with cooking spray and lining the bottoms with a parchment paper circle. Set aside.
- Gently whisk the cake flour to break up any heavy clumps. Spoon the flour into the measuring cups and level off the tops.
- In a small bowl, sift together the flour, cocoa powder, baking soda, baking powder, and salt. Set aside.
- In a stand mixer, use the paddle attachment to cream the butter on medium-high speed for approximately 2 minutes. Gradually add the sugars until the mixture is light and fluffy – approximately 5-7 minutes. Scrape down the sides and bottom of the mixer half-way to ensure even mixing.
- Add the eggs one at a time and mix until completely incorporated – approximately 5 minutes. Be sure to scrape down the sides and bottom of the bowl between each egg. Add the vanilla and coffee to the creamed mixture and continue to beat over medium-high speed until completely incorporated.
- Add the flour mixture and buttermilk in three alternating batches. Start by adding 1/3 of the flour mixture to the sugar and egg mixture and blend on low until the flour is incorporated – approximately 1 minute. Turn off the mixer, scrape down the sides and bottom of the bowl, and add 1/3 of the buttermilk. Blend in the buttermilk on low until it is completely incorporated – approximately 1 minute. Turn off the mixer, scrape down the sides and bottom of the bowl and repeat the process two more times. Scrape the batter down once more during the final mixing to ensure all the ingredients are fully incorporated.
- Divide the batter evenly between the cake pans and level off with the back of the spatula or a spoon.
- For 6-inch rounds, bake at 350 degrees F. for approximately 45-50 minutes. For 8-inch rounds, bake for approximately 25 minutes. The cake layers are ready when a toothpick inserted in the center of the cake comes out clean.
- Remove the cakes from the oven and allow them to cool completely before removing them from the baking tins. Once removed, shave off the dome of the cake so that they layers are even. The finished layers can be placed on cardboard cake rounds, wrapped in plastic wrap and foil, and frozen for up to one month.
- Prepare the chocolate simple syrup
- In a small sauce pan, combine 1/2 cup white granulated sugar, 1/2 cup water, and a 1/2 Tbsp. cocoa powder. Bring the mixture to the boil and allow to cook until the sugar has dissolved – approximately 2 minutes.
- Remove the syrup from the stove and allow it to cool to room temperature before applying it to the cake. Simple syrup can be stored in an air-tight jar in the refrigerator for up to 1 week.
- Prepare the Dubai Chocolate filling
- Thaw an 8-ounce roll of phyllo dough and cut in half so you have 4 ounces of phyllo dough. Save the other 4 ounces of dough for another use. Using a sharp knife and cutting board – work from one end of the roll of dough to the other – shaving the phyllo dough into 1 cm. strands. This process will take approximately 5 minutes.
- In a large saute pan or pot, melt the butter over medium heat. Add the shredded phyllo dough and stir constantly to prevent burning. The dough is ready when it reaches a deep golden brown and begins to look like toasted, shredded coconut – approximately 10-12 minutes. Remove the finished Kataifi from the pan, and spread it out on a piece of parchment paper to cool.
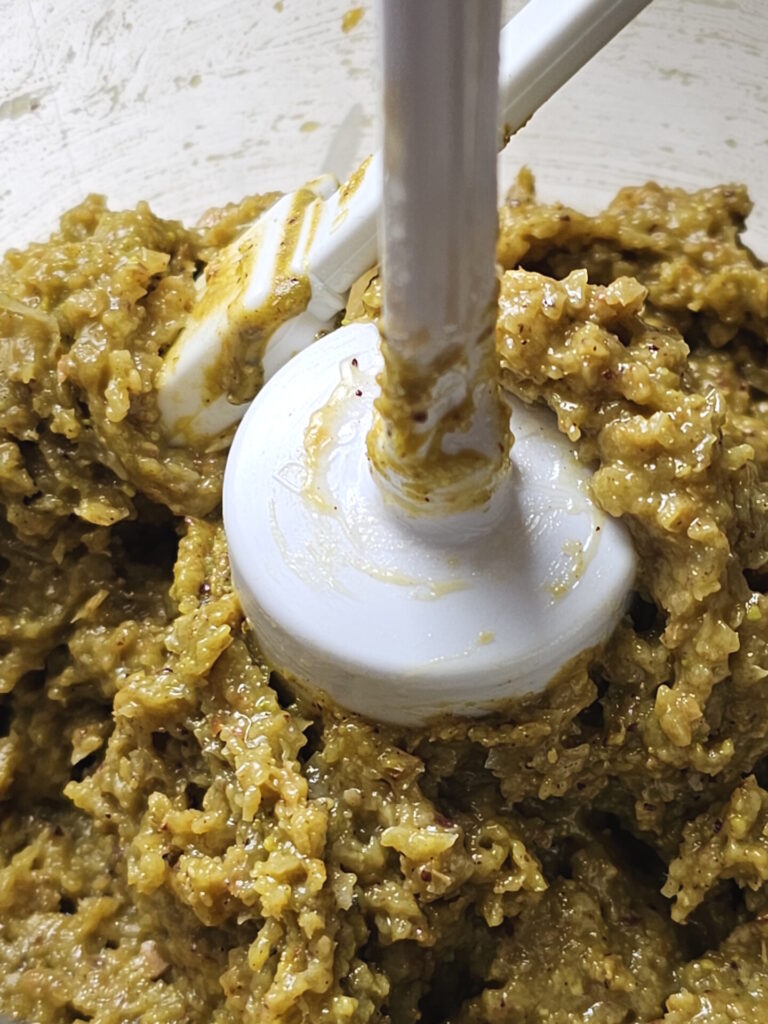
- When the Kataifi is completely cooled, transfer it to a medium-sized bowl. Add the pistachio butter, honey, Tahini, and salt. If mixing by hand, this can take 3-5 minutes. If using a food processor, pulse the mixture 30-60 times – depending on how smooth or chunky you like the mixture. For this cake, I pulsed the mixture 60 times. The mixture is ready immediately for use, but can be stored in the refrigerator for up to one week, or frozen for one month.
- Prepare the Ganache
- Place the chopped chocolate (60% cocoa powder) in a medium-size bowl. Set aside.
- In a medium-size saucepan, heat the heavy whipping cream over medium heat until it just begins to boil around the sides of the pan. Removed the cream from the heat immediately, and pour it over the chopped chocolate. Gently whisk the mixture until the chocolate in completely melted and incorporated.
- Cover the top of the Ganache with plastic food wrap so that the plastic is in direct contact with the Ganache before placing it in the refrigerator to cool. Allow the mixture to chill in the refrigerator for a minimum of 4 hours or overnight.
- When you’re ready to assemble the cake, remove the Ganache from the refrigerator and transfer it to your mixing bowl. Whip on medium-high speed until the Ganache becomes light and airy – approximately 1-2 minutes, but no longer or the Ganache can become grainy.
- Assemble the cake
- Trim the tops of the cake layers so that they are flat. If using 6-inch rounds, slice the cake layers in half so that they are divided into four evenly-thick layers. Place the base layer on a cardboard cake circle or cake plate and generously brush the top of the layer with simple syrup. Generously brush the bottom of the next cake layer with simple syrup and set aside.
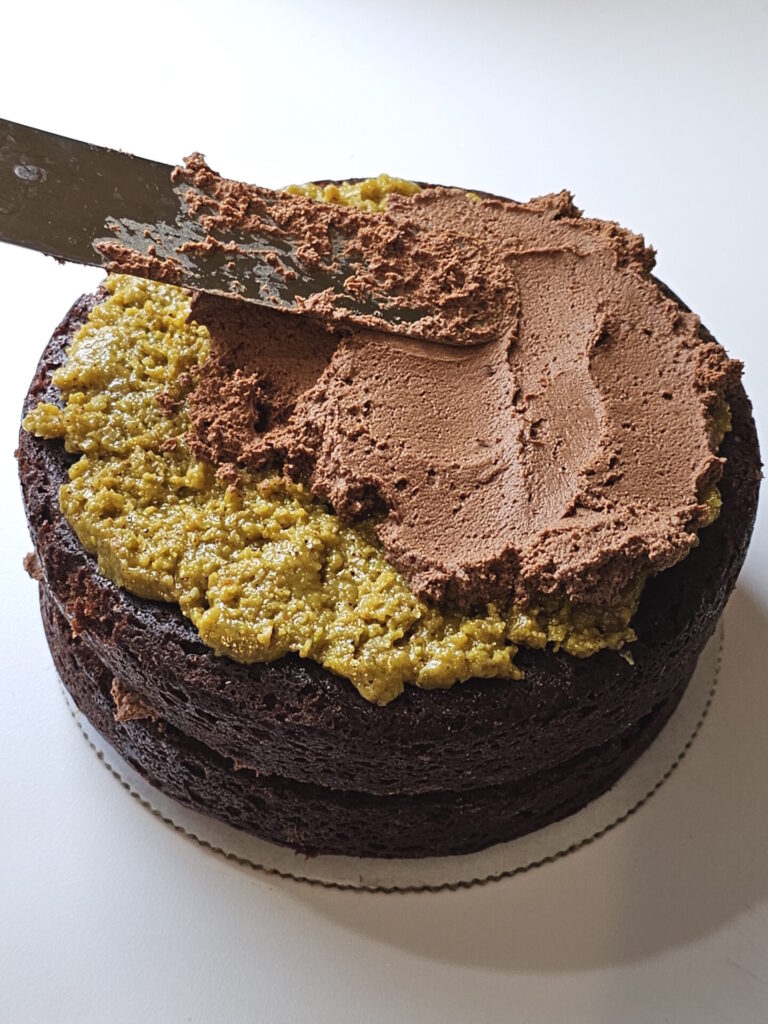
If using 8-inch layers, you do not need to slice the layers in half. The finished cake will have two layers only, not four. - Add a thin layer of the Kataifi to the base cake layer. Spread it gently with a flat spatula, being careful not to tear the cake layer.
- Add a thin layer of the whipped Ganache directly on top of the Kataifi layer.
- Take the top of the cake layer, and place the syrup-brushed side face down on top of the whipped Ganache. Brush the top of the second cake layer with simple syrup.
- Repeat steps 1-4 again until you have the last top layer of the cake (please reference the photos above in the blog post). Generously brush the top of the cake and sides of the cake with the remaining simple syrup.
If using 8-inch layers, the finished cake will have two layers only, not four. - Finish the cake with a thin layer of the whipped Ganache. Decorate as desired. Serve at room temperature for best taste and texture. Garnish with fresh fruit – pomegranate arils, fresh berries, and orange supremes are all great options.
- Store the finished cake in an airtight container in the refrigerator for up to 5 days.
Notes
- Why can’t I whip the Ganache ahead of time? This is the one step that needs to be done right before you are ready to assemble the cake. The whipped Ganache will become hard in the refrigerator like a regular buttercream would – making it unspreadable. Only whip the Ganache when you are ready to assemble the cake.
- Help! My Ganache has turned grainy while whipping? Can it be saved? If this happens, don’t despair. Chances are you just whipped it too long. It truly only takes a minute or two at most. Simply re-melt it, re-chill it, and re-whip it again.
- I’ve seen other recipes for Dubai Chocolate filling that call for Pistachio Cream and not Pistachio Butter. What’s the difference and are they interchangeable? Pistachio cream often has added sugars, oils and milk already mixed in, and is similar in texture to Nutella. It can vary in sweetness and flavor, with some being very sweet, with hardly any pistachio flavor at all. In this recipe, I chose to use Pistachio Butter because it gives a cleaner pistachio flavor, and I can control the sweetness and influence of the other added ingredients like the Tahini and the honey. The two are not interchangeable in this recipe.
Blessings & enjoy!