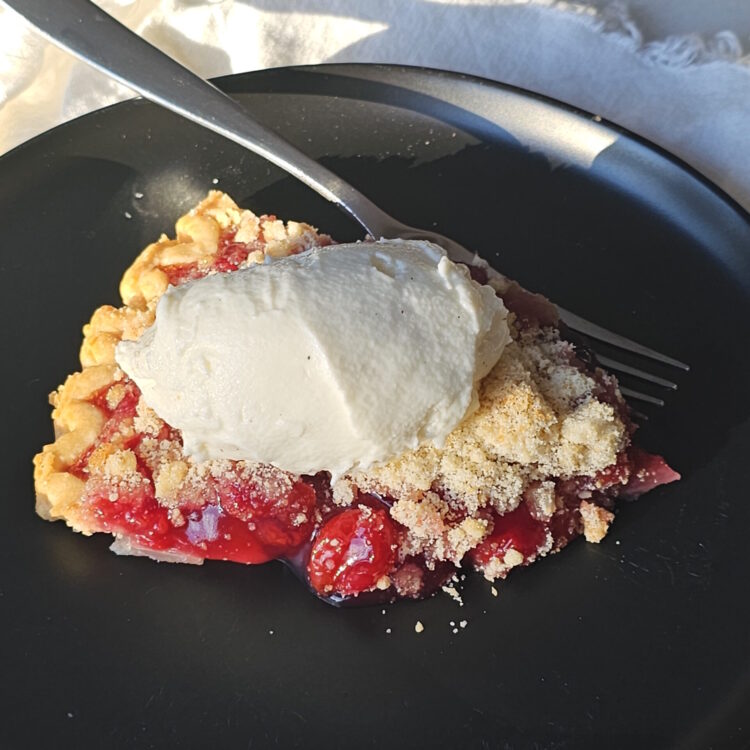
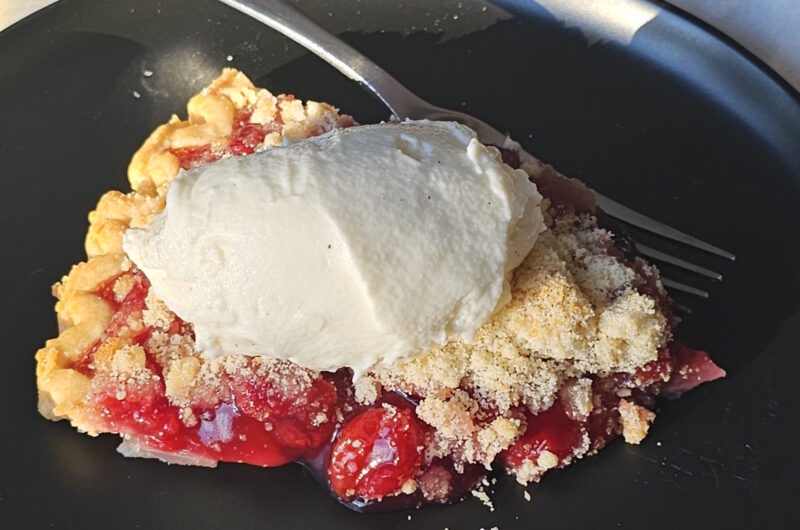
A slice of Old Fashioned Tart Cherry Pie is topped with a generous scoop of vanilla ice cream. This recipe for Easy, Old Fashioned Tart Cherry Pie captures the essence of classic American baking! There’s nothing quite like an old-fashioned cherry pie – especially when that pie is made with Montmorency tart cherries. This pie – although very simple – boasts a bright, balanced flavor with just enough sweetness to highlight the fruit’s natural tang.
For those of us in the Midwest—especially here in Michigan—tart cherries are more than just a baking ingredient. They’re part of our agricultural heritage. Michigan produces roughly 75% of the Montmorency tart cherries grown in the United States, making it the heart of America’s tart cherry industry.
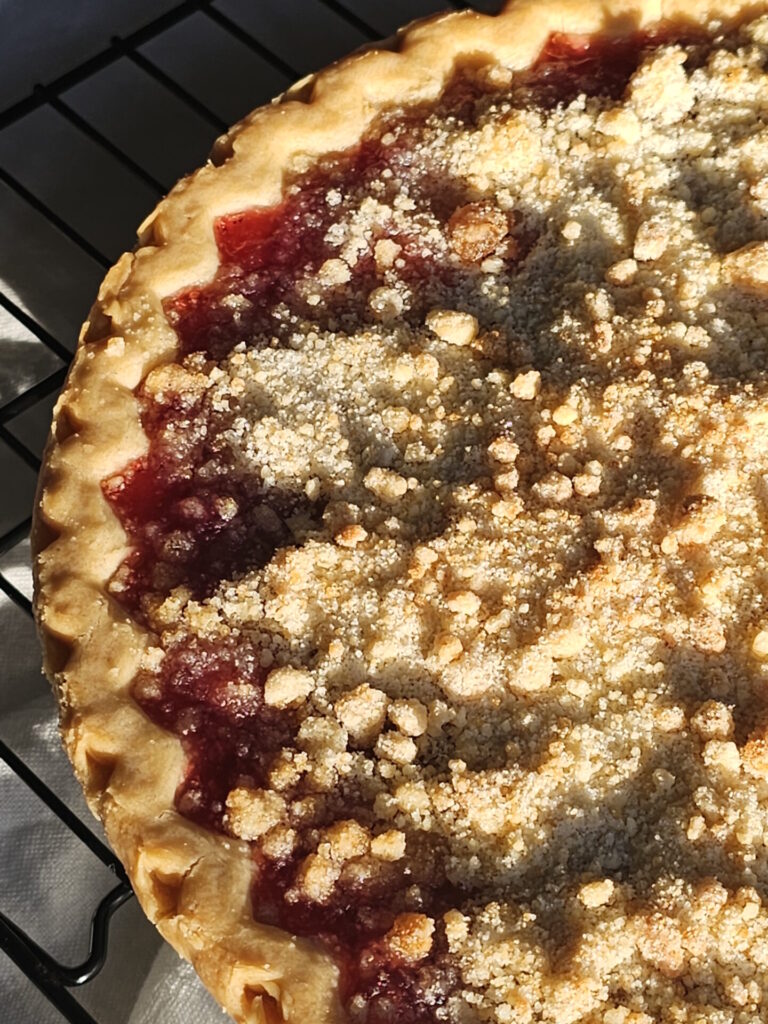
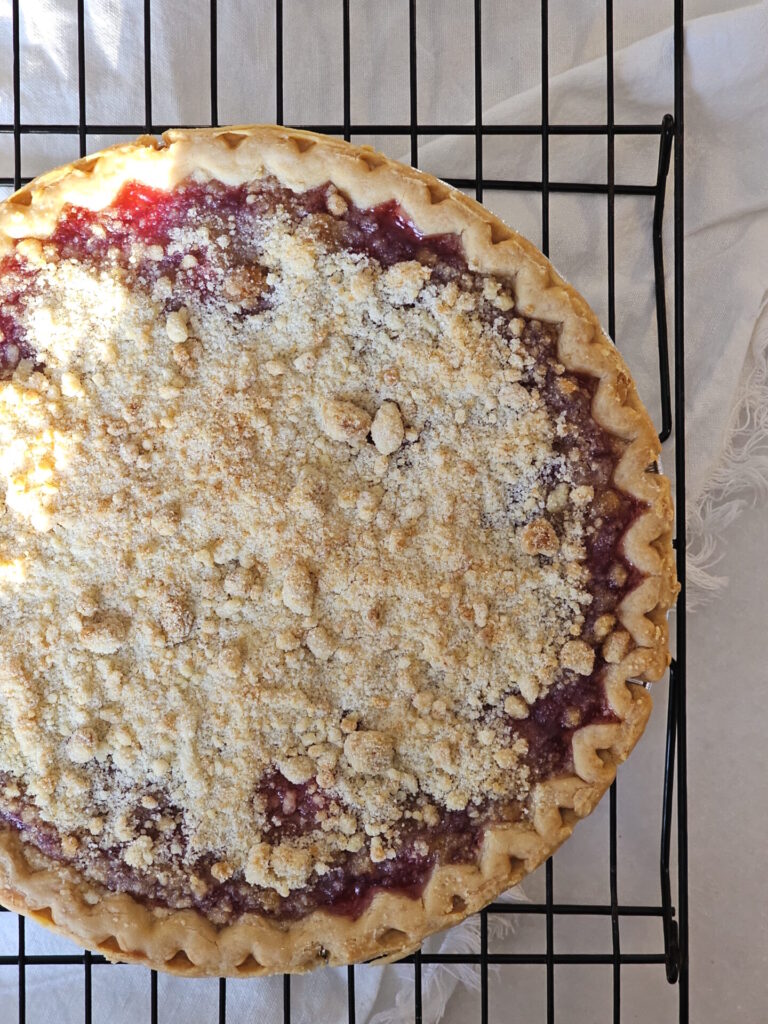
This Old Fashioned Tart Cherry Pie with a crumb topping celebrates that tradition. Instead of a second crust, a buttery crumble adds texture and warmth, creating the perfect contrast to the vibrant cherry filling beneath. Whether served warm with vanilla ice cream or enjoyed with coffee the next morning (I won’t judge if you have pie for breakfast), this is a timeless dessert that lets Michigan’s favorite fruit shine.
Jump to RecipeTable of Contents
Tart Cherries vs. Sweet Cherries: What’s the Difference?
Not all cherries behave the same in baking, and understanding the difference between tart cherries and sweet cherries can make or break a recipe.
Tart Cherries (Montmorency)
Montmorency tart cherries (also sometimes referred to as sour cherries) are the gold standard for baking. Their naturally bright, tangy flavor helps balance the sugar in pies, crisps, muffins, and sauces. Instead of becoming cloyingly sweet, desserts made with tart cherries develop a complex flavor profile that feels refreshing rather than heavy.
This balance is exactly why tart cherries are so often used in baked goods. The acidity enhances other ingredients while adding depth and brightness to the finished dessert.
Another advantage is availability. Montmorency cherries are harvested in the summer and quickly frozen, dried, canned, or juiced, allowing home bakers to enjoy them year-round while still benefiting from fruit that is picked at peak ripeness.
Sweet Cherries
Sweet cherries—such as Bing or Rainier—are typically eaten fresh. Their high sugar content and lower acidity make them delicious as a snack but less ideal for traditional pie fillings. When baked, sweet cherries can produce a filling that tastes flat or overly sugary unless extra acidity (like lemon juice) is added.
Why Tart Cherries Work Best for Pie
Classic cherry pie recipes were developed with tart cherries in mind. Their vibrant flavor naturally balances sugar, butter, and pastry, resulting in a dessert that feels rich but never overwhelming.
Cornstarch vs. Tapioca Starch: Choosing the Right Pie Thickener
Getting the filling texture just right is one of the secrets to a perfect cherry pie. Two of the most common thickeners used in fruit pies are cornstarch and tapioca starch. Each works well, but they create slightly different results.
Cornstarch
Cornstarch is one of the most common thickening agents used in fruit pies.
Pros
- Easy to find and inexpensive
- Thickens quickly
- Creates a smooth, glossy filling
Cons
- Can break down if overcooked
- May become slightly cloudy if reheated
- Filling can sometimes loosen after refrigeration
Cornstarch works best when the pie will be served the same day and you want a clean, classic pie filling texture.
Tapioca Starch (also known as Tapioca Flour)
Tapioca starch is another excellent option, particularly for juicy fruits like cherries.
Pros
- Creates a stable filling that holds together beautifully
- Maintains thickness even after chilling
- Produces a slightly clearer filling
Cons
- Must be measured carefully to avoid a gummy texture
- Can take slightly longer to activate
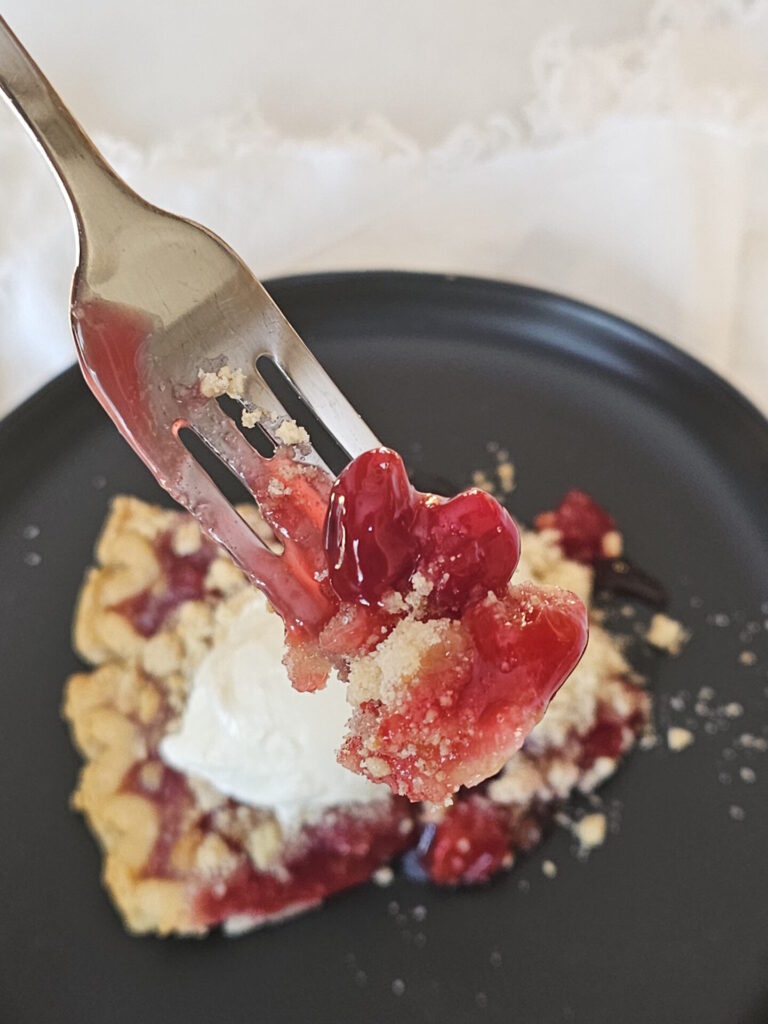
Many bakers prefer tapioca starch for cherry pies because it helps control excess moisture and prevents the dreaded runny slice of pie.
Which Should You Choose?
Both thickeners work well, but the best choice depends on your preference:
| Thickener | Best for |
| Cornstarch | Smooth, classic filling served the same day |
| Tapioca starch | Thick, stable filling that slices cleanly |
For this cherry pie recipe, either option works beautifully—especially when paired with the crumb topping that absorbs just a bit of the cherry juices as it bakes. I recommend using two tablespoons of either cornstarch or tapioca starch for thickening the filling in this recipe.
Why a Crumb Topping Works So Well with Tart Cherry Pie
Traditional cherry pies often feature a double crust, but a crumb topping adds something special.
A buttery streusel topping creates:
- Texture contrast between crisp topping and soft filling
- Extra flavor from brown sugar and butter
- An easier pie assembly than a lattice crust
The topping also absorbs some of the bubbling cherry juices during baking, creating pockets of caramelized sweetness that pair beautifully with the bright tartness of the cherries.
Why this Old Fashioned Tart Cherry Pie Recipe Stands Up
Old-fashioned desserts endure for a reason—they simply work. A cherry pie with crumb topping is the kind of recipe that feels nostalgic yet timeless, equally at home at a summer cookout or a holiday table.
By using sour cherries, you’re not only creating a dessert with incredible flavor but also supporting the farmers who grow one of America’s most iconic fruits. From their vibrant color to their signature sweet-tart balance, these cherries are the heart of countless beloved recipes.
Whether you’re baking this pie for family, friends, or simply to enjoy a quiet moment with a slice and a cup of coffee, this classic dessert is proof that sometimes the simplest ingredients create the most memorable results.
Let’s Get Social!
Thank you for visiting the MOstly Bakes website. I hope you have enjoyed this recipe for Old Fashioned Tart Cherry Pie. If you’re looking for other food and beverage recipes, I’d like to invite you to subscribe to our newsletter and follow us on social media via Instagram, Facebook and Pinterest. Thank you again, for visiting, and I look forward to connecting with you there!
Blessings & enjoy!
Old Fashioned Tart Cherry Pie
Course: DessertCuisine: AmericanDifficulty: Easy8
servings15
minutes40
minutes4
hoursThis Old Fashioned Tart Cherry Pie features a vibrant cherry filling and a buttery crumble topping for added texture and warmth.
Ingredients
- For the Pie Crust
One 9-inch pie crust of your choosing, or set aside some extra time to try my recipe for cream cheese pie crust. It goes beautifully with the cherry pie filling.
- For the crumb topping
1/3 cup AP flour
2 Tbsp. light brown sugar
2 Tbsp. unsalted butter, melted
1/8 tsp. kosher salt
- For the cherry pie filling
24 ounces Montmorency tart cherries, pits removed (you can use either fresh or frozen cherries that have been thawed)
3/4 cup white granulated sugar
2 Tbsp. of either corn starch or tapioca starch
1 1/2 tsp. fresh lemon juice
1/8 tsp. kosher salt
1/8 tsp. almond extract
Directions
- For the crust
- Prepare a 9-inch pie pan by lining it with your pie crust of choice (a prepared, frozen pie crust will work just as well for this step). Chill and set aside.
- For the crumb topping
- Combine the flour, brown sugar, and salt in a small bowl. Add the melted butter to the dry mixture and blend with a fork until a crumbly mixture forms. Set aside.
- Prepare the filling
- Combine the cherries, sugar, thickener (corn starch or tapioca starch) salt, lemon juice, and almond flavoring in a medium-size sauce pot.
- Over medium heat, bring the cherry mixture to a boil, stirring constantly to avoid hot spots and scorching the fruit. Cook until thick and the juices turn from a cloudy color to a transparent, dark red sheen – Approximately 5-7 minutes.
- Remove from heat and allow to cool to room temperature – approximately 30 minutes.
- Time to bake
- Place either a baking sheet or a pizza stone in the center of the oven and preheat the oven to 425 degrees F.
- Add the cooled filling to the uncooked pie crust shell. Spread evenly.
- Cover the filling with the crumb topping.
- Place the pie in the oven on the heated baking sheet. Immediately drop the oven temperature to 350 degrees F. and bake for 40 minutes until the pie is bubbly and the top of the crumb is a light, golden brown.
- Cooling and Serving
- Once finished baking, remove the pie from the oven and allow it to cool in place on the baking sheet until it is cool to the touch. Once cool, transfer the pie to cooling rack and allow it to rest for a minimum of four hours before serving so the filling has time to set. If you can be patient, allowing it to cool overnight is best.
- Enjoy as is or with a scoop of vanilla ice cream.
Notes
- Can I make this recipe Gluten Free? Absolutely! There are some really good frozen, premade, and GF crust options out there. Find your favorite and use that in place of gluten-rich AP flour.
- Can I make this recipe Dairy Free? Yes! I tested this recipe using Country Crock Plant Based Butter with Avocado Oil and liked the flavor.
- Why do I have to heat the oven to 425 degrees F. and then drop the temperature down to 350 degrees F. before baking the pie? Can I skip this step? The extra bump of heat ensures that the bottom of the pie crust gets cooked all the way through. Nobody likes a soggy bottom! It’s a necessary step in the baking process, so don’t be tempted to skip it.