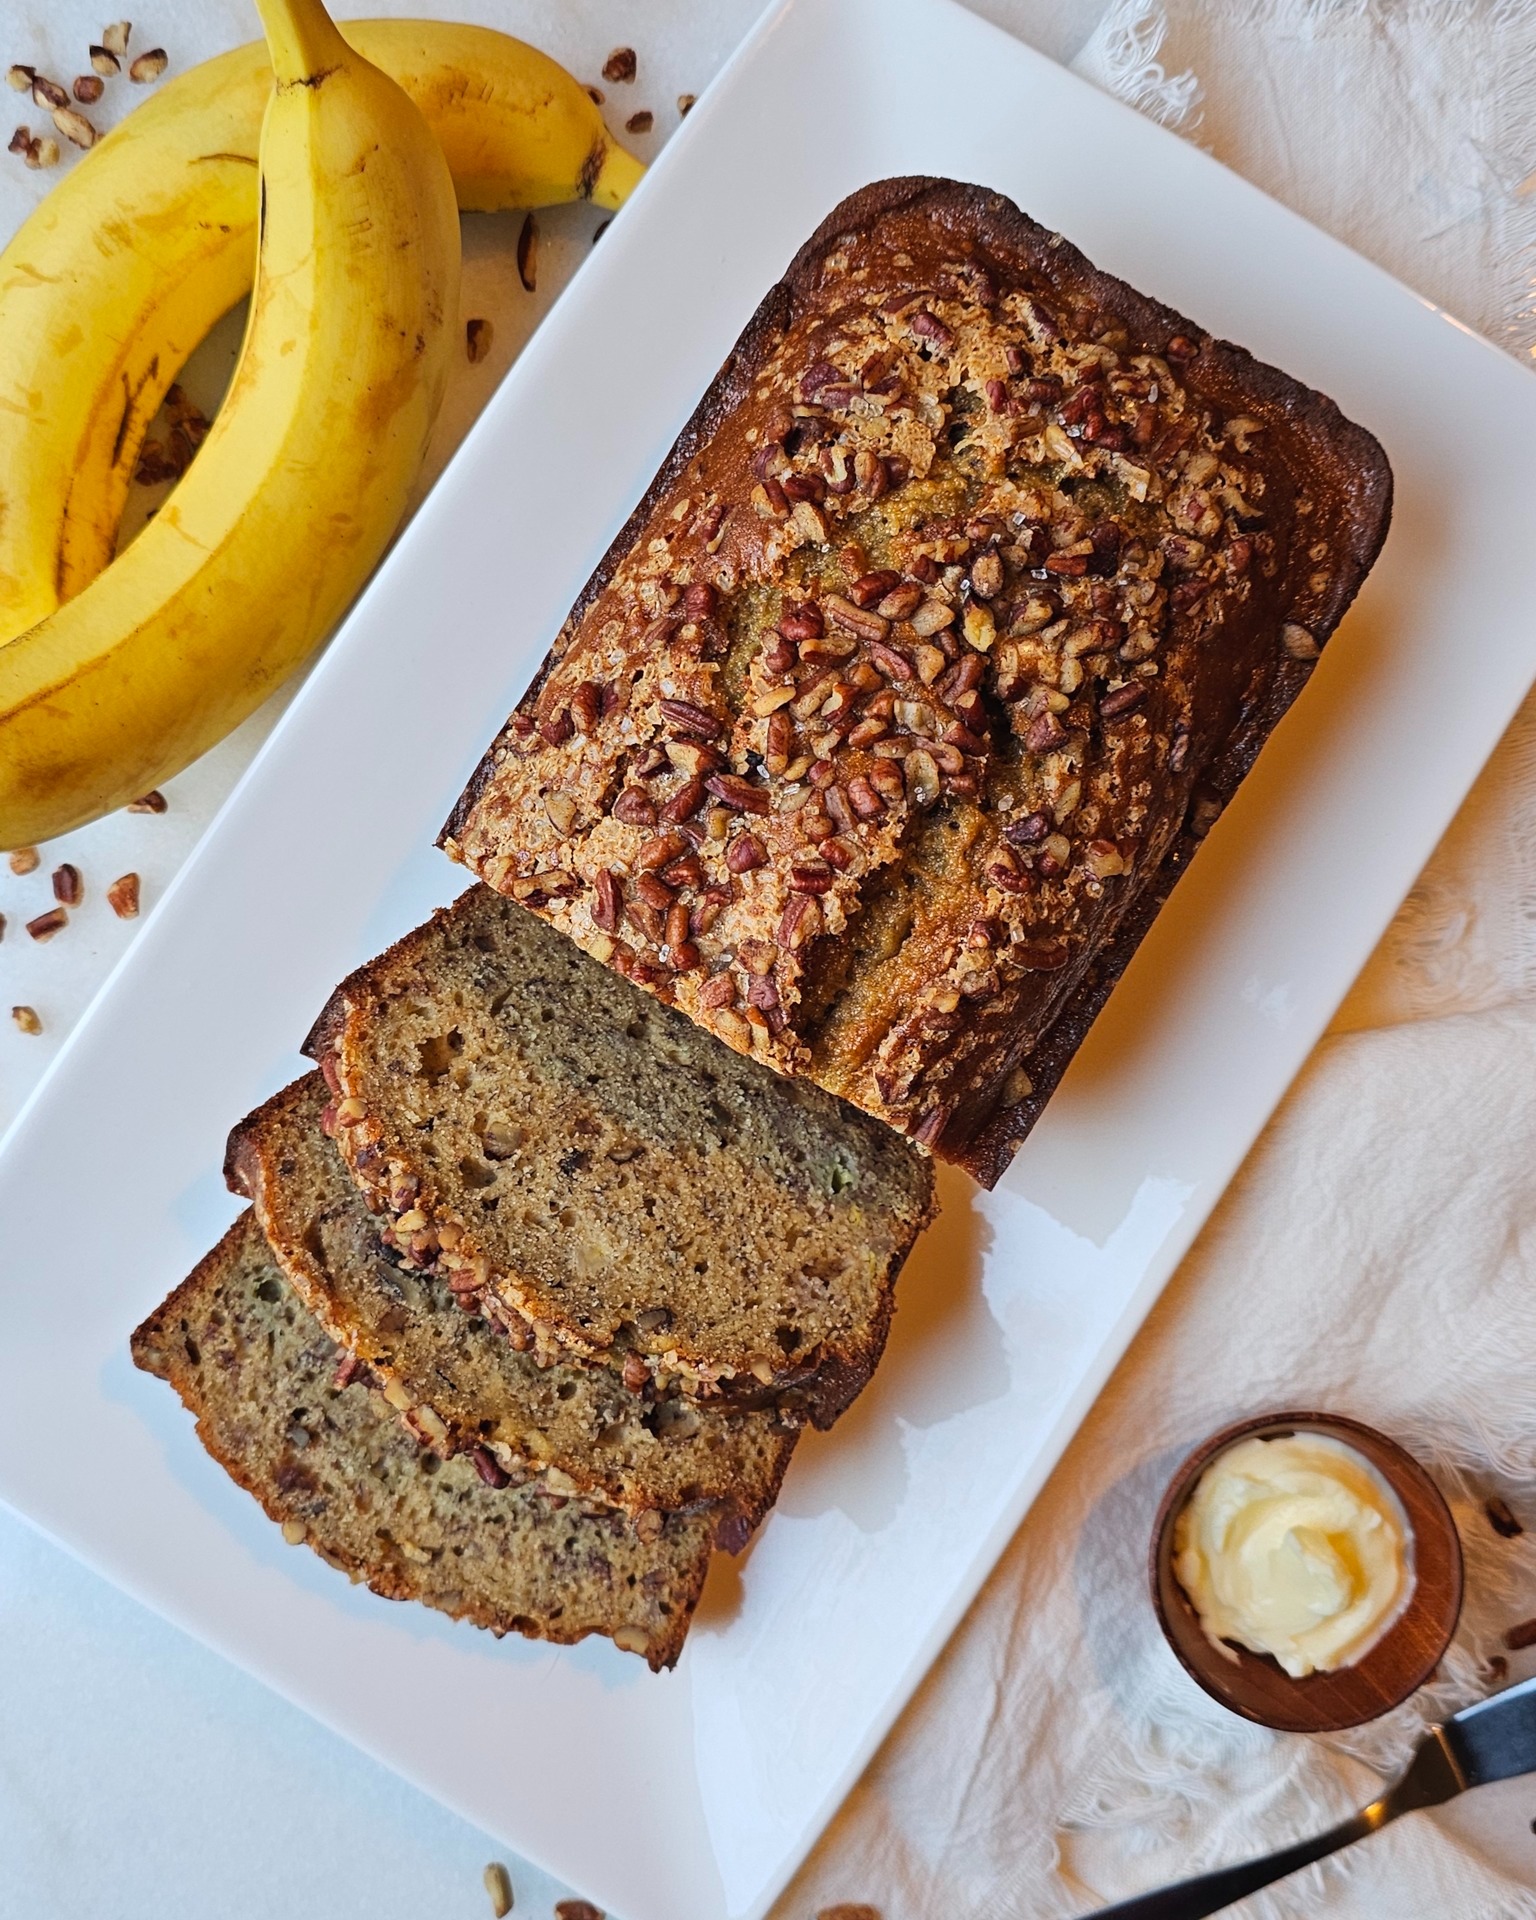
These Easy 4-Ingredient Minze Patties feature a soft, peppermint cream center and are coated in dark or white chocolate. Top with crushed peppermint sticks for a festive touch around the holidays; however, these candies can be made and enjoyed all year.

Although this version gets its cool, peppermint flavor from Rumple Minze Schnapps, you can skip the schnapps and flavor your candies with peppermint extract or oil instead.
One of the things I love about this recipe is that it can be mixed completely by hand and requires no bake time. You only need to melt a little chocolate in the microwave for dipping the patties once they have chilled and firmly set.
If you’re looking for a way to work off some holiday stress, crushing the candy canes into sprinkle-size bits (completely optional) can prove quite therapeutic – or so I’m told.
Jump to RecipeThe mintiest Minze for these Peppermint Patties…and other options.

If you grew up in the 80s, you may remember the unparalleled popularity that Schnapps enjoyed during that period. You even may have a Rumple Minze Peppermint Schnapps story or two to tell. At 100 Proof, this liqueur delivers a respectable amount of warmth going down and big peppermint flavor – enough to stand up to the sweetness of these festive peppermint patties.
In this recipe, I like the boldness of Rumple Minze. The cool, mint flavor holds up well to the sweetness of the powdered sugar that forms the base of the cream filling. If you already have a bottle of this schnapps in your spirits cabinet you are well on your way to making these delicious, minty candies. However, you don’t have to purchase a large bottle of schnapps just to make these tasty treats.
If you still want to try the Rumple Minze, most liqueur stores carry the mini-bar bottles that you can purchase for a few dollars. You can also substitute peppermint extract or peppermint oil – both of which can be found in the baking aisle of most major grocery stores. In the ingredients list below, I provide alternative measurements for all three options so you can flex this recipe to meet your preference.
Stations everyone! And a quick breakdown on the steps and use of stations in this recipe.
Stations
In this recipe, I reference prepping three distinct work stations. Some of this is suggested to boost efficiency. I’m left handed, so for this recipe, I tend to place my tray of un-dipped patties on the right (Station 1), my melted chocolate in the center (Station 2) and my finished, dipped candies land squarely in Station 3 on my left. I work from right to left. If you’re right handed, you can adjust to do the opposite, of course. The idea is to create a mini assembly line when dipping these peppermint patties.
However, in my recipe for Tempting 2-Bite Sweet Potato Drop Doughnuts, the use of stations also serves as a safety feature when frying up doughnuts. It’s efficient, but more importantly, it’s a safer approach to working with hot oil. It keeps you in one place, instead of moving around the kitchen. Movement equals risk and I always aim to minimize risk – especially when I’m working with hot oil or hot sugar.
Steps explained ad nauseam

In terms of the steps, I tend to get pretty granular in my instructions, but I chalk that up to wanting to be clear and complete. If you’ve ever started a new recipe and spent a critical amount of time trying to figure out what needed to be done at an equally critical stage of the recipe, you understand my intent.

Step 1. Making the mint candy center takes less than 5 minutes. In a large mixing bowl, simply combine 1 cup of powdered sugar, salted butter and peppermint flavoring.
I tested this recipe using both regular and vegan butters and both worked the same. You may be wondering why I chose salted butter for this recipe when I typically rely on unsalted butter. I haven’t relinquished my salting privileges; however, in a first version, I found small granules of salt to be off-putting in the finished product. A little salt helps elevate the flavor and that salt is evenly distributed throughout a salted butter. It’s okay to use salted butter in this recipe. In fact, I encourage it.
Don’t use a hand mixer or a stand mixer. You’ll be cleaning up the sugar dust for days afterward. Instead, use the back of a fork to work the mixture by hand until a dry, crumbly dough forms. It may still be a little lumpy and sticky at this point, but as you switch to working it by hand, it will become smooth and easy to handle as you work in the final 3 Tbsp. of powdered sugar. It will feel like warm play dough in your hand.
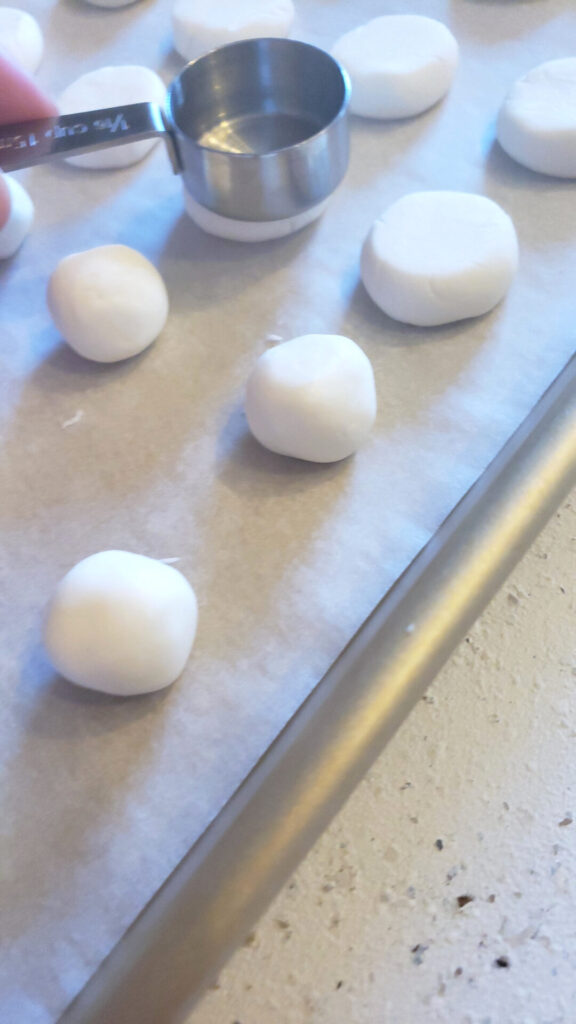
Step 2. This step involves dividing up the dough, rolling it into balls and gently pressing them into disks. If making large candies, divide the dough into 12 equal portions (approximately 1 Tbsp. of filling each). If making small candies, divide the dough into 24 equal portions (approximately 1 tsp. of filling). These candies are sweet, so I personally prefer the 2-bite, mini patties.
You’ll then want to transfer the balls to a sheet pan lined with parchment paper or a non-stick baking mat and gently flatten them with the back of a measuring cup. If the back of the measuring cup starts to stick, simply dip it in a little powdered sugar and you’ll be good to go. Don’t go too thin. Large patties should measure approximately 1 1/4 inches across, and small patties should be about the size of a quarter.

At this stage, it’s important to transfer the peppermint patties to the freezer for 15 minutes. Chilling down the dough allows the patties to get firm enough to hold up to being poked with a toothpick and having their bottoms dipped in chocolate.
Step 3. While the patties are chilling in the freezer, use those 15 minutes to crush your candy canes (if you choose to garnish), melt your chocolate and set up your stations for dipping.
You may be wondering why I bother dipping the bottoms of the mints instead of covering them all in one swoop. I like the stability of the flat bottom that an initial, partial dip gives to these candies. It’s a cleaner, neater finish, and I find the second dipping is much easier as a result. In early versions of this peppermint patty recipe, I did try dipping them just once. However, if the temperature of the chocolate is too high, it causes the filling to melt, making it difficult to manage. For this reason, I like the two-dip process.
Once all the peppermint patties have been partially dipped, return them to the freezer for 5-10 minutes to firm up. While they are chilling, reheat your chocolate to ensure it coats smoothly and shift a tray over to Station 3. If using crushed candy cane as a garnish, have it ready in a small bowl off to the side.
Step 4. It’s time to finish these beauties! Once the chocolate-dipped bottoms of the peppermint patties are firm, you can finish dipping the candies. A candy-dipping fork is a handy tool if you have one, but a regular fork and spoon will do the trick as well. Simply place a patty on a fork and suspend it over the bowl of melted chocolate.

Using a spoon with your opposite hand, coat the top and sides of the patty with chocolate. Tap off the excess chocolate and transfer the patty to the lined sheet pan in Station 3 to firm up. I like to use either a small spatula or a toothpick to nudge the finished patty off the fork and onto the lined sheet pan.
If you choose to garnish them, immediately sprinkle the crushed candy pieces on top of the dipped patty. If you wait too long, the chocolate will harden and the candy pieces will not stick to the chocolate, so sprinkle each one individually before dipping the next.
And that’s it! Because the cream center of these delicious and Easy 4-Ingredient Minze Patties is already pretty chilled at this point, the finished candies will firm up in as little as 5 minutes. These minty bites can be stored at room temperature in an airtight container for up to two week, but I highly doubt they will make it that long.
I hope you give this homemade peppermint patty recipe a try. Enjoy!

Easy 4-Ingredient Minze Patties
Course: DessertCuisine: AmericanDifficulty: Easy12
servings20
minutes20
minutes15
minutesThis recipe yields 12 large peppermint patties or 24 mini patties.
Ingredients
1 cup powdered sugar, plus an additional 3 Tbsp. powdered sugar for kneading.
2 Tbsp. salted butter (either regular or vegan will work)
1 1/2 tsp. Rumple Minze Schnapps. See notes below.
12 ounces dark or white chocolate melts for dipping.
Optional – a crushed peppermint stick or candy cane for decoration
- Helpful tools
A toothpick
A candy-dipping fork is a handy tool if you have one, but a regular fork and spoon will do the trick as well.
Two lined baking sheets. One for chilling the peppermint patty disks and one to hold the finished dipped patties.
Directions
- In a large mixing bowl, combine 1 cup of powdered sugar, butter and peppermint flavoring. Use the back of the fork to work the mixture until a dry, crumbly dough forms.
- At this stage, sprinkle one Tbsp. of powdered sugar into the bowl at a time, using your hand to knead the dough into a smooth paste. After the 3rd Tbsp. of sugar has been incorporated, you should have a dense, easy to handle filling.
- If making large candies, divide the dough into 12 equal portions (approximately 1 Tbsp. of filling) and roll into balls. If making small candies, divide the dough into 24 equal portions (approximately 1 tsp. of filling) and roll into balls.
- Transfer the balls to a sheet pan lined with parchment paper or a non-stick baking mat and gently flatten with the back of a measuring cup. Large patties should be approximately 1 1/4 inches across, and small patties should be about the size of a quarter. Transfer the disks to the freezer for 15 minutes.
- Melt the chocolate dipping wafers according to manufacturer instructions. I find using a tall, microwave-safe bowl works well for dipping. Set up your dipping station into three sections: Station 1 – Chilled patties on sheet pan 1, Station 2 – Melted Chocolate, and Station 3 – Finished patties on sheet pan 2.
- After the mint patties have chilled for 15 minutes and the chocolate is ready for dipping start by poking a toothpick in the center of the chilled patty and dip the bottom of the mint disk in the chocolate. Quickly transfer the partially dipped mint disk to the lined sheet pan in Station 3 to set up. Repeat the process until the bottoms of all the mint patty disks have been dipped. Return the partially dipped disks to the freezer for 10 minutes to firm up.
- While the disks are chilling, reheat your chocolate to ensure it coats smoothly and shift a tray over to Station 3. If using crushed candy cane as a garnish, have the crushed pieces ready in a small bowl off the the side.
- Once the chocolate-dipped bottoms of the peppermint patties are firm, you can finish dipping the candies. Place a patty on a fork over the bowl of melted chocolate. Using a spoon, coat the top and sides of the patty with chocolate. Tap off the excess chocolate and transfer to the lined sheet pan in Station 3 to firm up. I like to use either a small spatula or a toothpick to nudge the finished patty off the fork and onto the lined sheet pan.
- If garnishing the tops, immediately sprinkle crushed candy pieces on top of the dipped patty. If you wait too long, the chocolate will harden and the candy pieces will not set, so work quickly. Repeat steps 8 and 9 until all the peppermint patties are coated.
- Once the candies are firm, they can be transferred to an airtight container and stored at room temperature for up to 2 weeks.
Notes
- What if I don’t have or want to use schnapps? Alternatively, you can use 1 1/2 tsp. peppermint extract or 2-3 drops of peppermint oil mixed with 1 1/2 tsp. water.