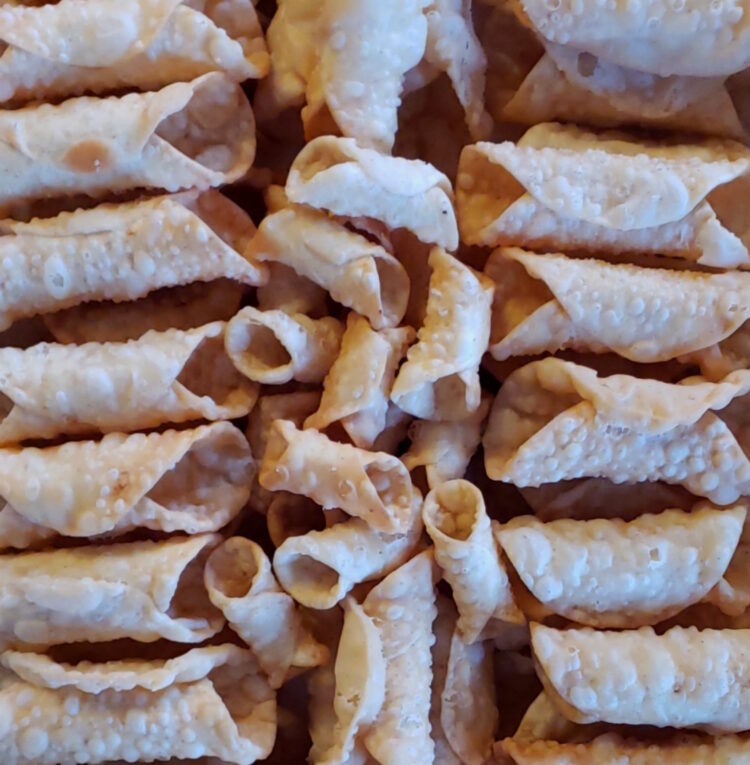
This recipe for Authentic Sicilian Cannoli Shells has been in our family for generations. Every year, I make these shells and our family’s recipe for the cream custard that fills them for the holidays, and every year I have someone ask me for the recipe or say that they searched for it on the blog, but couldn’t find it.
Typically, the recipes you find here on the MOstly Bakes blog are my own original recipes, with the exception of a few from either side of the family that have been re-engineered for today’s home cooks. Like those recipes, this one is not mine from a purely creative perspective. I didn’t develop it, but it is definitely a part of me, my holiday baking traditions, and my identity as a home cook.
This past Christmas, once more I had someone ask for the recipe, and again I explained that it couldn’t be found on the blog because it hadn’t been shared in that space. It was then that I had a revelation. Regardless of their origin story, all good recipes are meant to be shared.
Giving credit where credit is due, I’m grateful to the women on my mother’s side of the family who developed this recipe and passed it down through generations. I wish I could have been a quiet observer in their kitchens. I can’t tell their story because I wasn’t there to bear witness, but I can share with you my family’s recipe for homemade cannoli shells as it was shared with me, plus a few new tips and time-savers we’ve incorporated over the years.
Jump to RecipeTable of Contents
My Little Chapter in the Story of the Family’s Cannoli Recipe
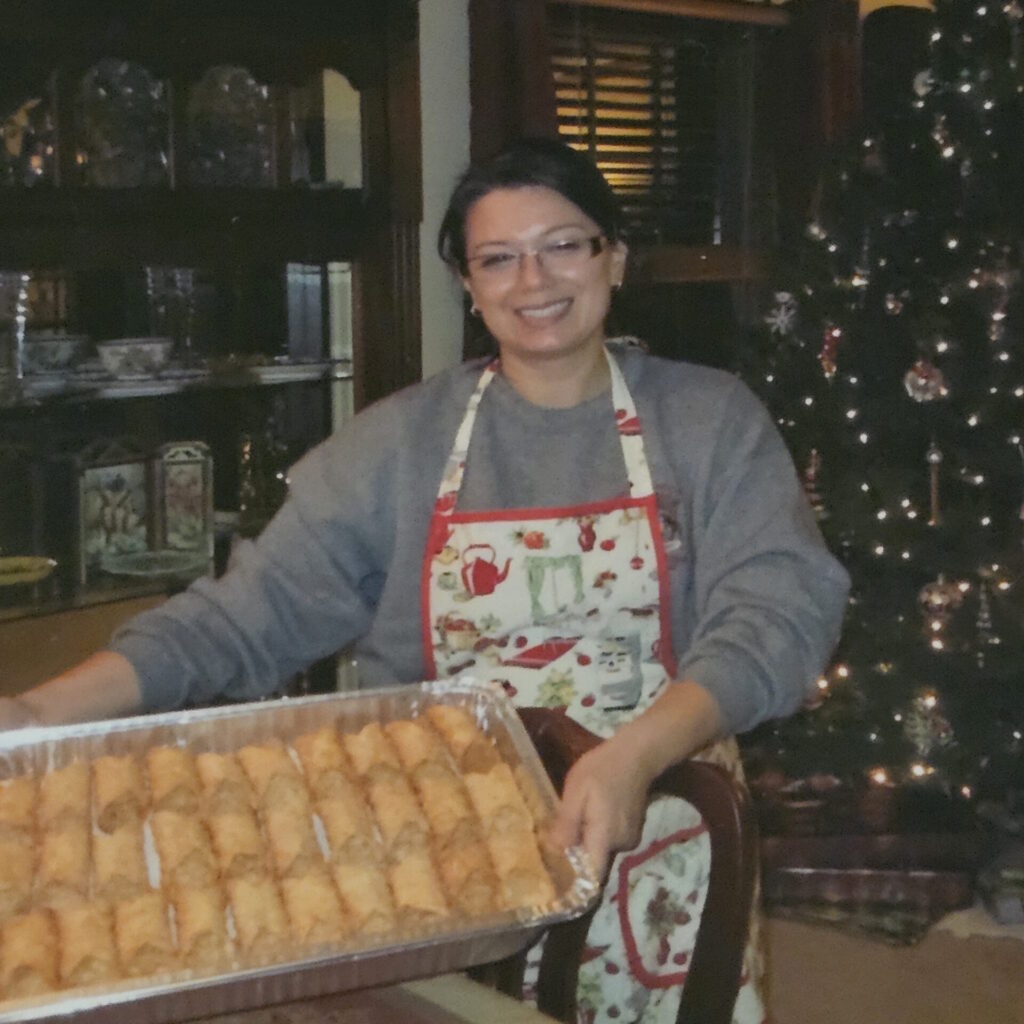
December 2006, my sister and I spent a day deciphering our late Aunt Katie’s copy of the family recipe for cannoli shells and filling. It was nearly a year to the day she had passed away. A year earlier, the cousins had talked about the need to get together, to plan a day when she could teach us how to make some of the old family recipes, including the family recipe for cannoli. Life got busy and that time with her never happened. We did manage to get everyone together a few years later for a beautiful day of shell-making, food, and laughter.
My mom was one of four sisters born to Italian-American immigrants. Our family had lost another Aunt, Aunt Madge, years earlier, and so, we were feeling that tug, that need to reconnect with something lost, and feed something still within us. Cooking and baking is not always about feeding the body. When life’s in balance, I think food ministers equally to body and soul. But there are those times when the soul just needs a nice bowl of comfort food to set things in the world right again.
As we sensed our way through the process, we couldn’t help but feel that Aunt Katie and Aunt Madge were guiding us in spirit. Some things you have to learn by doing. There’s a kinesthetic knowledge that goes deeper than anything you can take away from reading the words written on a page alone. We wanted to learn how to make the delicious treats we had grown up with. We also wanted to be able to pass down the secrets of that tradition to our own daughters.
Making homemade cannoli shells that first time took us nearly half a day. At each step, we discussed, second guessed ourselves a time or two, and took notes for the next year. When we tasted the first fruits of our labor, we laughed, cried ugly, happy tears, hugged, gave each other a kiss, and told each other how wonderful we both were. We also thanked the Aunties for helping us along the way.
I’m pleased to report that 2025 marked the 19th year of holiday cannoli shell making.
Tools, Tricks, and Tips for Success When Making these Authentic Sicilian Cannoli Shells at Home
This dough can be made completely by hand. It’s how the Aunties did it, but honestly, I don’t know how they managed. Over the years, my sister and I have refined our technique, and added a few invaluable, modern-day tools to the shell-making process. Again, this recipe can be done completely by hand, but if you have any of the following recommended tools available, it will make things much easier.
Tools for Mixing
As I mentioned, this is a stiff dough, so mixing by hand is a workout in itself, but the Aunts also rolled thin (emphasis on thin, here), and cut the dough circles by hand as well. The first year my sister and I made the cannoli shells we did it all by hand – just like the Aunties.
However, in the second year, we figured out that using a stand mixer to make the dough cut the mixing time down to roughly 5 minutes. We also figured out that using a pasta machine to roll the dough was faster and made it much easier to control the thickness of the dough.
If you choose to make these homemade cannoli shells by hand, just know that your triceps will be on fire at some point and you will probably be sore for a couple of days after. This process has its benefits as you will likely experience zero guilt when eating a finished cannoli (or two) afterwards.
- If you have a stand mixer, use a dough hook to mix this dough.
- If you have a pasta machine, roll the dough out to a level 6 thickness (approximately 1.0 mm) before cutting your dough circles.
Tools and Tips for Frying
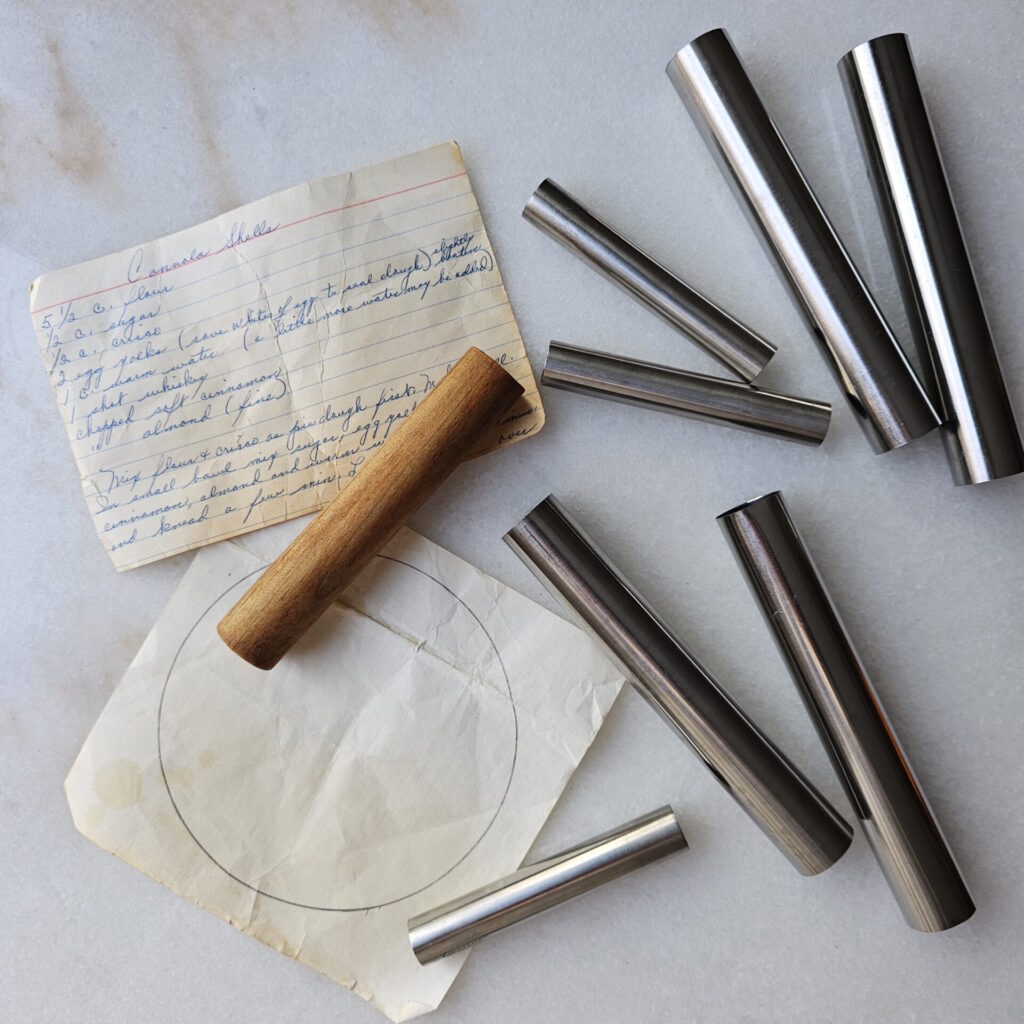
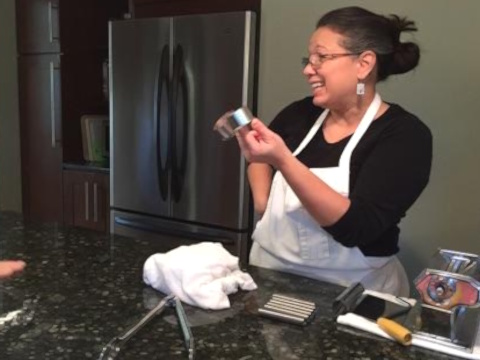
By the 10th year (approximately), we discovered stainless steel tubes for frying. What a game-changer! Traditionally, the cannoli shell dough was wrapped around wood dowels that had been cut and seasoned in oil before frying; however, we still experienced a fair amount of sticking and lost a few shells every year. Switching to the stainless steel tubes made the frying process much easier. The shells practically slip off the tubes by themselves – with little coaxing. You can find these at most major cooking and baking stores, or online.
My sister is a wiz at eyeing the oil and knowing when to adjust the temperature for optimal frying. The family recipe called for testing the oil for readiness by placing a small piece of dough into the hot oil. If it floated to the top, the oil was ready.
When I make these shells at home alone; however, I like to use a thermometer to guide me. If your oil is too cool, your shells will be oily and heavy. If it’s too hot, the oil will start to smoke and your shells will burn in record time. Aim to keep the oil between 350 – 365 degrees Fahrenheit, which is the optimal range for frying, and you’ll be golden (small pun intended).
When wrapping a dough circle around the tubes or dowels, keep the dough loose. They dough doesn’t have to be tightly wrapped around the tube. In fact, having a little play will make it easier for them to slide off the tube during the frying process. Secondly, when sealing the ends of the dough with the egg white, you only need a little bit and only on the dough. Do not get any egg white on the tube as it will cause the shell to stick to the tube.
- Skip the wood dowels and invest in stainless steel cannoli shell tubes. I know it’s not what the Aunties used, but I think they would approve and whole-heartedly support this shift.
- Use a kitchen thermometer that can be safely secured to the side of your pot. Use it to maintain the optimal frying temperature between 350 – 365 degrees F.
- Get yourself a good pair of long-handled tongs for gripping and handling the tubes.
Tips for Staying Organized and Safe
Whether you’re flying solo on this recipe, or working as a team, you’ll need to be organized – especially if you are making these shells by yourself. For starters, you’re working with hot oil, so always, always, always wear long pants and covered-toe shoes with good traction. No slipping and falling in the kitchen, please. I also like to wear a long-sleeve shirt and use close-fitting, food-handler gloves as an added layer of protection if any hot oil splashes up. However, with the gloves, do what feels more natural for you.
Have two baking trays lined with paper towels and off to the side of your pot for removing the shells from the tubes and for cooling once they are finished frying. We also like to have two trays lined with paper towels so we can transfer the finished, cooled shells for storage.
Have a small tray or shallow bowl where hot tubes can rest and cool down. This keeps your work station clean and free of excess oil. It also serves as a visual reminder that the tubes are hot. When the tubes are cool enough to handle, you can start wrapping them again for frying the next batch of cannoli shells.
Test the grip on your tongs outside of the oil to see which set gives you the best control over the tubes before frying.
- Dress appropriately when working with hot oil.
- Have two baking trays lined with paper towels and off to the side for removing the tubes and for cooling the cannoli shells.
- Have a designated bowl or tray for hot tubes to cool.
- Test the grip on your tongs for best handling before you start frying.
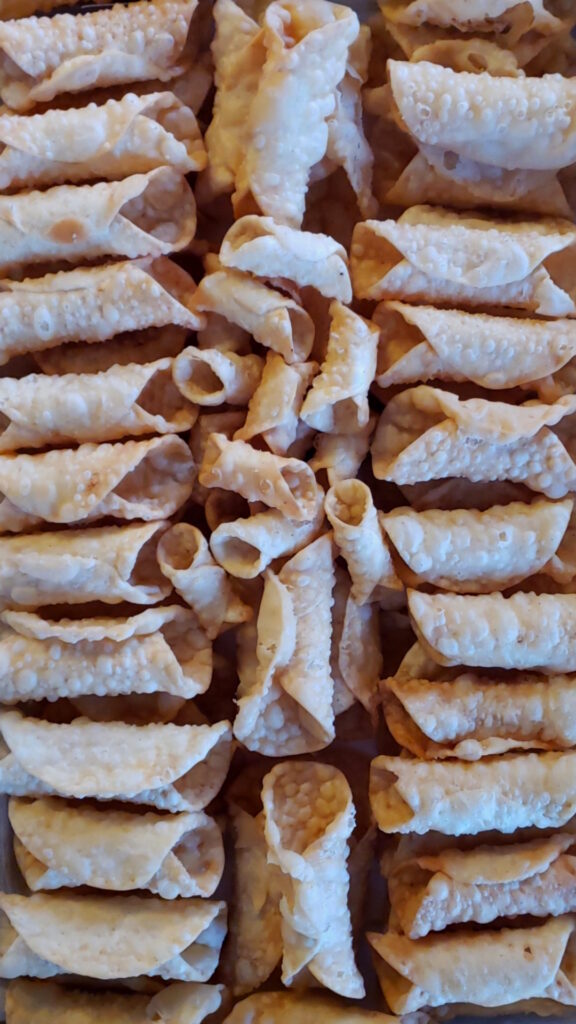
Finally, I’ll just add that these cannoli shells freeze beautifully. My sister and I will often make the shells in mid-November so that we have them available throughout the holidays. Simply pull them out and fill them as needed with either our family’s recipe for Authentic Sicilian Cannoli Custard or this alternative recipe for Easy as 1-2-3 Chocolate Cherry Cannoli filling.
Let’s Get Social!
Thank you for visiting MOstly Bakes! I do hope you have enjoyed reading about the story behind our family’s recipe for homemade cannoli shells and cream filling. I do hope you give it a try. They’re a little work, but well worth the effort. For more delicious recipes and creative baking ideas, subscribe to our newsletter and follow us on social media via Instagram, Facebook and Pinterest. Thank you again, for visiting and I look forward to connecting with you there!

Authentic Sicilian Cannoli Shells
Course: DessertCuisine: ItalianDifficulty: Advanced100
shells (approx.)10
minutes1
hour30
minutes90
minutesThis recipe, in its original ratios will yield approximately 100 shells (plus or minus, and accounting for a few flops along the way). However, you can easily cut the recipe in half, reducing prep and frying times, as well.
Ingredients
- For the cannoli shell dough
2 Egg yolks, separated (save the whites for sealing the shells)
1 Cup warm water
1 Shot whiskey (I like Grass Widow by Two James Distillery, but you can use any neutral bourbon or whiskey. Note: Do not use a peaty Scotch as this will ruin the flavor of the shells).
1/2 cup white granulated sugar
1/2 tsp. ground cinnamon
3 Tbsp. finely ground almonds – fine like kosher salt crystals – allowing them to pass more easily through the pasta machine.
5 1/2 cups A.P. flour
1/2 cup solid white Crisco (not butter flavored)
- For frying the shells
1 Cup solid white Crisco
64 oz. vegetable oil
- Equipment you will need or is nice to have on hand
A stand mixer for mixing the dough
A pasta machine for rolling the dough
8 or more Stainless Steel cannoli shell tubes (large tubes measuring 51/2 inches long x 3/4-inch in diameter). Note: If you decided to make mini cannoli shells, the mini stainless steel tubes I use measure 3 1/2-inches long x 1/2-inch in diameter.
Circle cutters – 4-inch circle for large shells and a 2 1/2-inch cutter if you’re making mini tubes.
A sturdy pair of long-handled tongs with a good grip on the end.
A heavy-bottom, 9-quart pot for frying the shells
A candy or food thermometer that can be safely secured to the side of the pot.
Two baking trays lined with paper towel for draining and cooling the cooked shells.
A shallow bowl or small pan for holding hot metal tubes while they cool down between uses.
Directions
- Prepare the dough
- Whisk together the warm water, whiskey, egg yolks, sugar, cinnamon and almonds. Set aside.
- Sift the flour into the bowl of a stand mixer to break up any clumps. Add 1/2 cup of solid Crisco and using a dough hook, blend on low speed until the flour becomes mealy like a pie dough.
- Add the liquid mixture to the flour and blend on low until thoroughly combined. The dough will be heavy, dense and fairly dry. Wrap dough in a damp cloth and allow it to rest for a few minutes while you prepare the oil.
- Prepare the oil for frying
- Combine the remaining 1 cup of Crisco shortening and the 64 ounces of vegetable oil in a heavy-bottom, 9-quart stock pot.
- Bring oil to temperature over medium heat, and adjust the dial as needed. The oil is ready when a piece of dough can be dropped and it bubbles and floats back to the surface. If using a food thermometer, your aiming to maintain the heat of the oil between 350 – 365 degrees F.
- Rolling and forming the shells
- Cut off a small chunk of dough and dust lightly with flour. Keep unused dough covered with a damp cloth so it doesn’t dry out. You can re-use and roll the remaining scraps of dough once finished with the block.
- Roll the dough to 1.0 mm thick. If using a pasta machine to roll the dough, start at level 1 and roll a small portion of dough through the machine. Increase the machine to level 3 and pass the dough through the machine again – using a light dusting of flour to prevent the dough from sticking as needed between levels. Continue increasing the tension and rolling the dough through the machine until you reach level 6 (approximately 1.0 mm in thickness).
- Lay the strip of dough flat on the counter and cut out as many 4-inch circles as you can get out the strip.
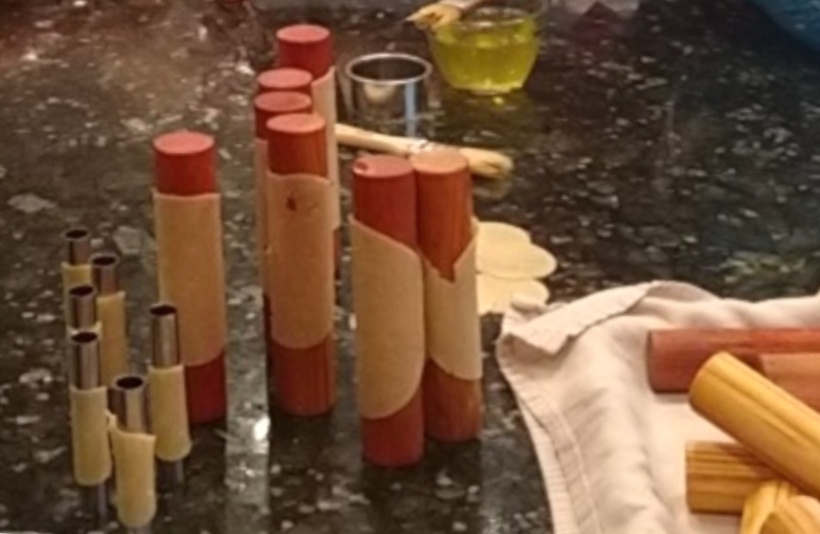
- Loosely wrap the dough circles around the metal tubes – leaving approximately 1/4-inch of the dough ends to overlap.
- Dip the tip of your finger in the egg while and lightly brush it on one end of the dough, gently press the overlapping piece in place and set the tube off the to side for frying. Note: Avoid getting any egg while on the tube as this will cause the shells to stick to the tube during frying and make it harder for the finished shells to slide off the tube.
- Frying the shells
- Before you begin frying, have two baking trays lined with paper towels and positioned off to the side of the pot. Using the tongs, grip the end of the tube (one at a time) and gently lower 2-3 tubes into the hot oil. Once the shells have lightly fried and bubbled up all around like an egg roll (approximately 1 minute), remove the tubes from the oil and set them on the paper-towel lined pans on end vertically.
Using the tongs, grasp the end of the tube and tap it gently on the tray until the shell slips off. Return the half-cooked shell to the oil and continue to cook for another minute until light, golden brown. Remove from the oil and drain on the second baking tray. - Place hot tubes in a bowl to cool before reusing. Repeat the process until all the shells have been fried.
- Storing and enjoying your shells
- Store cooled shells in airtight containers with paper towels lined between the layers. Shells will keep for two weeks at room temperature or several months frozen.
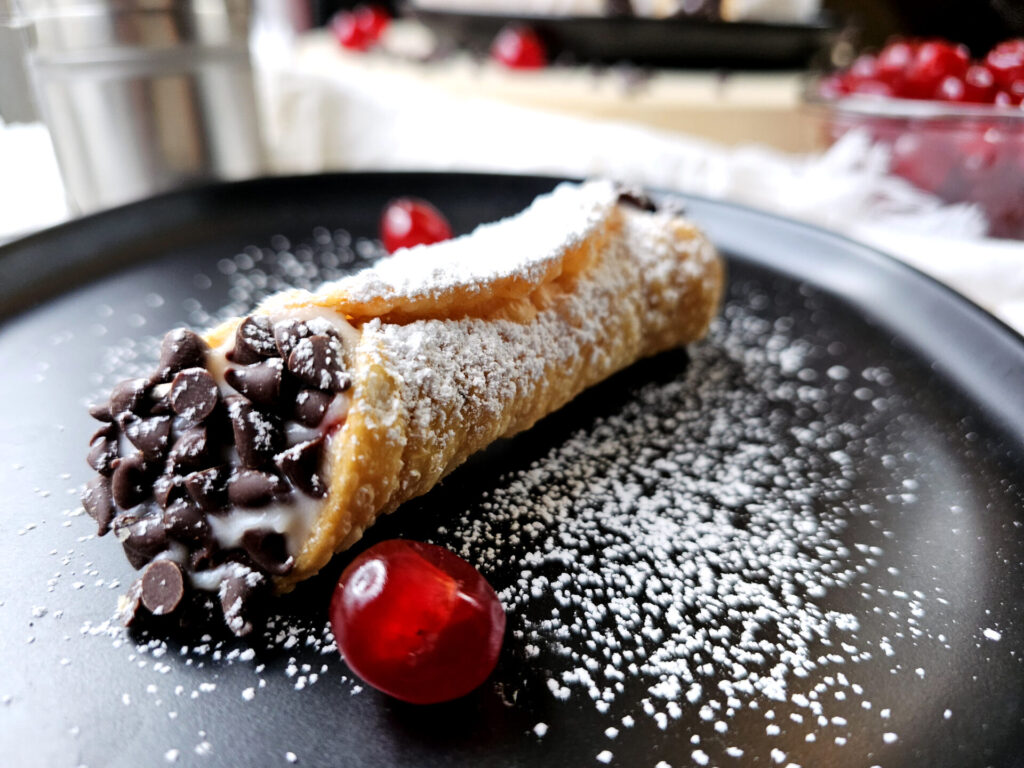
- Fill shells as needed with either Authentic Sicilian Cannoli Cream or Easy as 1-2-3 Chocolate Cherry Cannoli filling.
Notes
- Can I make these shells in advance? Because these shells freeze so well, my sister and I usually like to make these shells in mid-November before the Thanksgiving so that we have them ready to pull and fill all throughout the holidays.